Rear view camera: Difference between revisions
Ricebubbles (talk | contribs) |
Ricebubbles (talk | contribs) m (→Description) |
||
| Line 1: | Line 1: | ||
==Description== | ==Description - Rear View Camera Installation== | ||
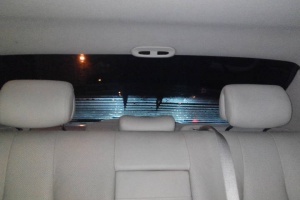
Installing a rear view camera is a nice feature, especially if the rear window is tinted. This section covers rear view camera installation on a W220 and various rear view cameras. | Installing a rear view camera is a nice feature, especially if the rear window is tinted. This section covers rear view camera installation on a W220 and various rear view cameras. | ||
| Line 5: | Line 5: | ||
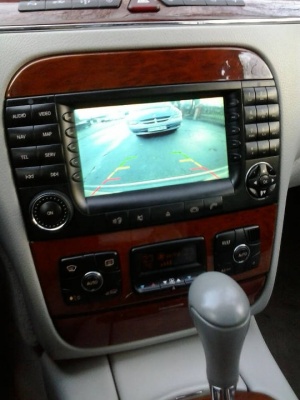
[[File:W220_rear_view_camera_on_COMAND_screen.jpg|300px]] | [[File:W220_rear_view_camera_on_COMAND_screen.jpg|300px]] | ||
==Wiring== | ==Wiring== | ||
Revision as of 01:51, 8 December 2015
Description - Rear View Camera Installation
Installing a rear view camera is a nice feature, especially if the rear window is tinted. This section covers rear view camera installation on a W220 and various rear view cameras.
To see the picture on COMAND screen a multimedia interface must be installed. Alternatively, a cheap (~15 USD) LCD monitor can be used to see the picture.
Wiring
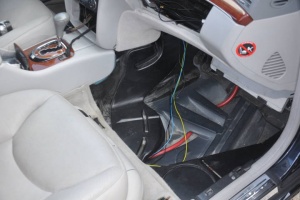
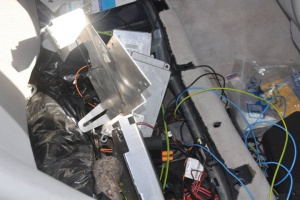
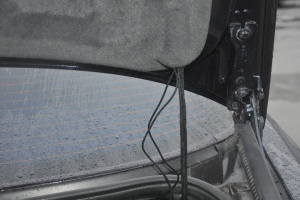
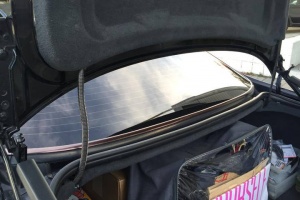
The simplest path from the front panel to the rear under seat is to follow the thick, red positive wire. Then the wire can follow wires that go from rear SAM to trunk cover.
Have not been tested, but probably the wire could be fitted into the trunk cover wiring shield.
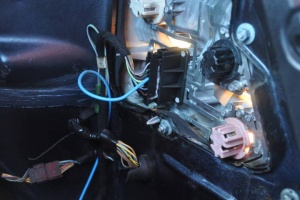
To activate rear view camera when the reverse is engaged you can connect a wire (the blue wire in the picture) to rear light reverse cable connector.
Camera Options
Supposedly W220 rear view camera
Price: 35 USD
Marketed on the ebay as W220 rear view camera, however, there is no place where it could be possibly mounted.
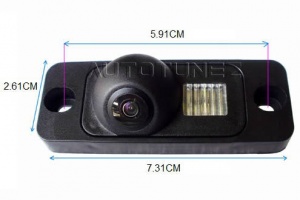
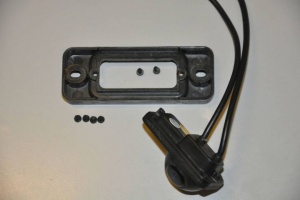
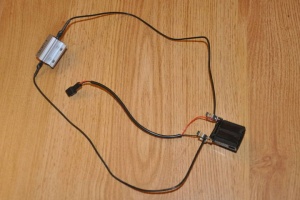
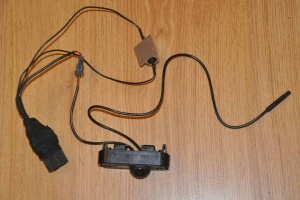
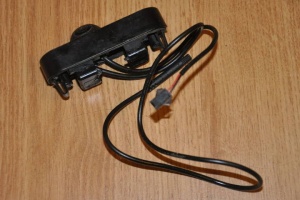
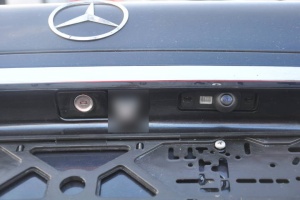
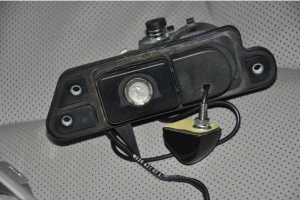
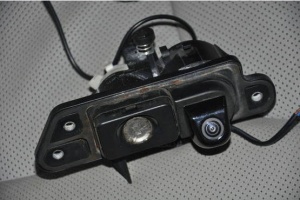
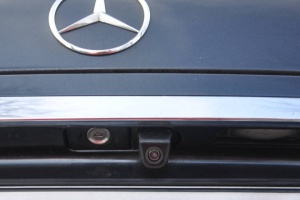
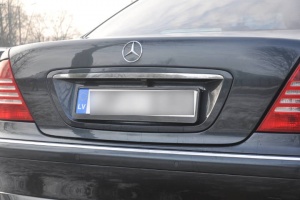
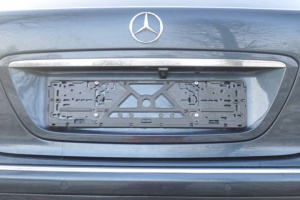
Rear View Camera in Licence Plate Light Module (CAMERA2)
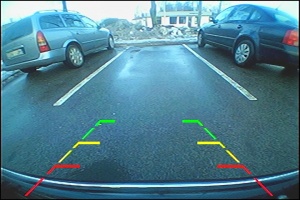
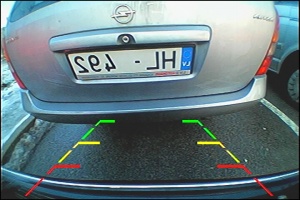
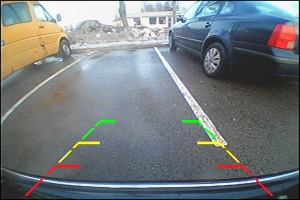
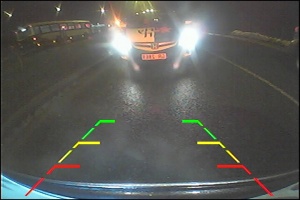
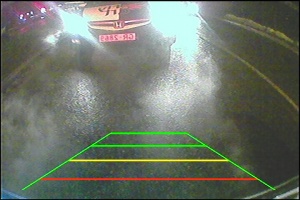
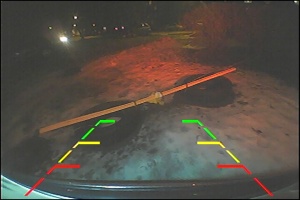
In the comparison of rear view cameras below the Rear View Camera in Licence Plate Light Module is designated as CAMERA2.
CAMERA2 Price: 50 USD
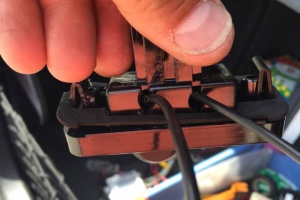
The camera comes with built-in LED which is powered by a separate wire. Note, that the LED is not CANBUS "error free", which means that if connected to licence plate light wire the LED will blink and errors will appear on the instrument cluster. To make it work an additional resistance - load resistor of 150 ohm must be added (you can also use 100 ohm load resistor, but in that case if the LED malfunctions you will not receive error message on the instrument cluster). To mount it in place of original licence plate light module you will have to sacrifice the original module by breaking off the connector (or alternatively drilling two holes). Breaking it is easy since if the original licence plate module has been used for a while the plastic becomes very fragile (see licence plate lights page).
 |
 |
 |
CAMERA2 Advantages:
- Discrete mounting (hardly visible from distance).
CAMERA2 Disadvantages:
- The small LED provides less light than aftermarket LED modules (see licence plate lights page).
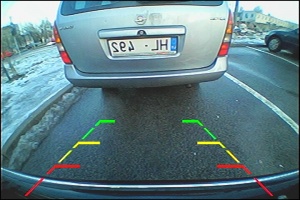
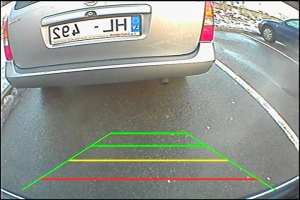
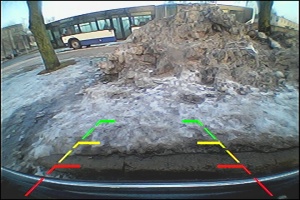
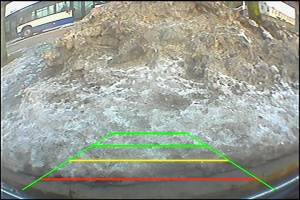
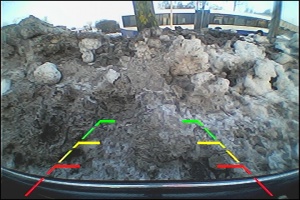
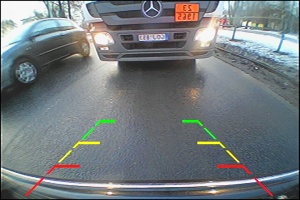
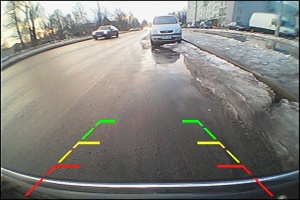
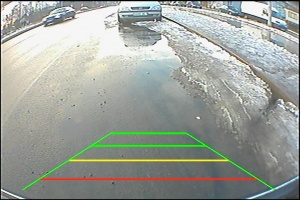
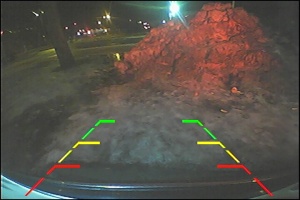
- Has relatively small view angle (see comparison below).
- Since mounted 20cm away from center, makes rear view biased (see comparison below).
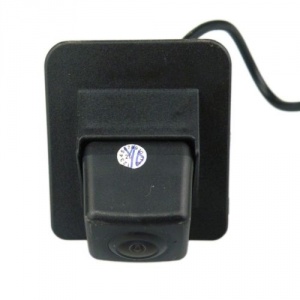
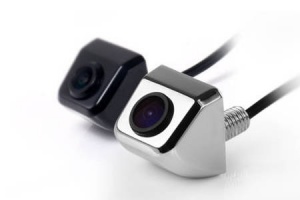
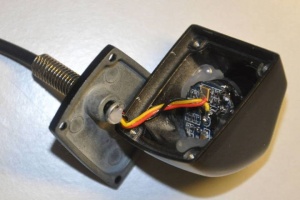
Generic Rear View Camera - (CAMERA1)
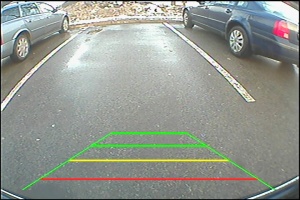
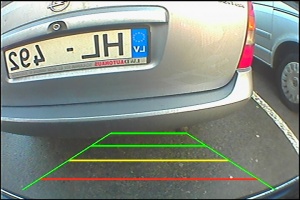
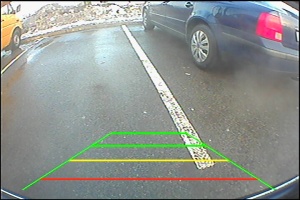
In the comparison of rear view cameras below the Generic Rear View Camera is designated as CAMERA1.
CAMERA1 - Price: 15 USD
 |
 |
 |
 |
 |
 |
CAMERA1 - Advantages:
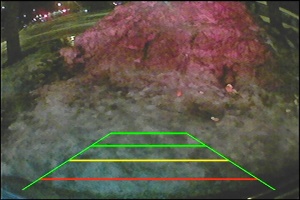
- Can be mounted very close to the center of car.
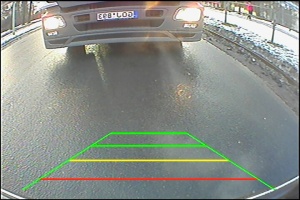
- Has large view angle (see comparison below).
CAMERA1 - Disadvantages:
- Not very discrete (visible from distance).
Other Cameras
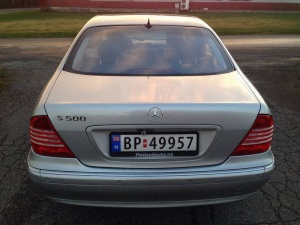
Comparison
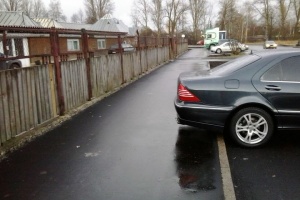
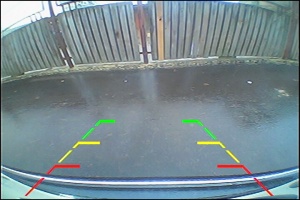
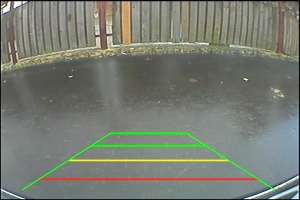
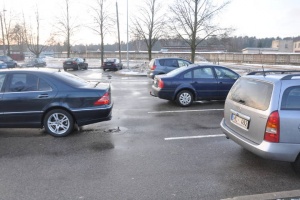
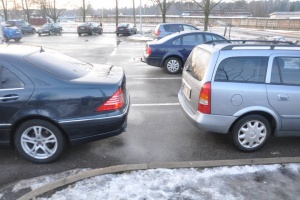
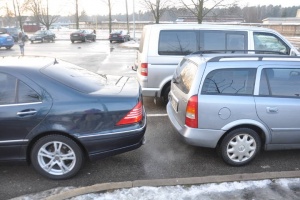
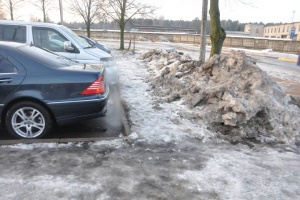
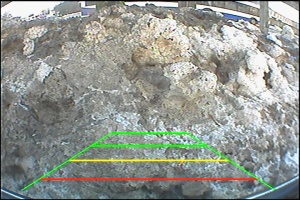
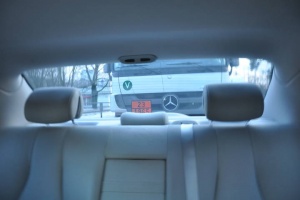
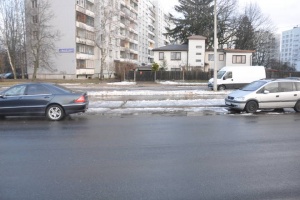
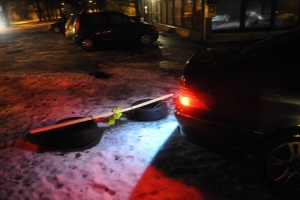
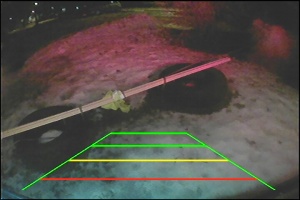
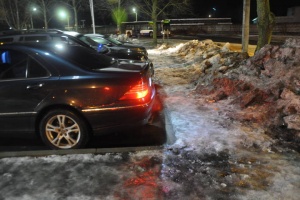
Here we provide a comparison of two rear view cameras. The generic rear view camera (CAMERA1) and the rear view camera in the licence plate light module (CAMERA2).
| Actual | CAMERA1 | CAMERA2 |
|---|---|---|
|
|
|
|
|
|
|
|
|
|
|
|

|
|
|
|
|
|

|
|
|
|
|
|
|
|
|
|
|
|
|
|
|
|
|
|
