Brakes
Front brakes
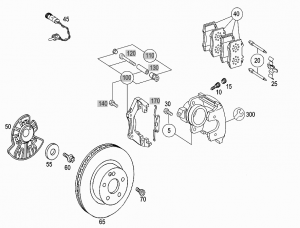
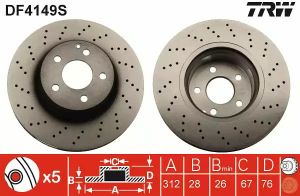
Front disk brake rotor
- OE A2204210912 (135 EUR)
- TRW DF4149S (56 EUR)
Front disk brake pads
Brake pads are sold in pairs (for both sides).
- OE A0044209020 (112 EUR)
- TRW GDB1543DTE (50 EUR)
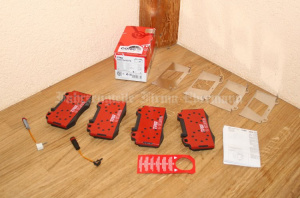
Accessory kit
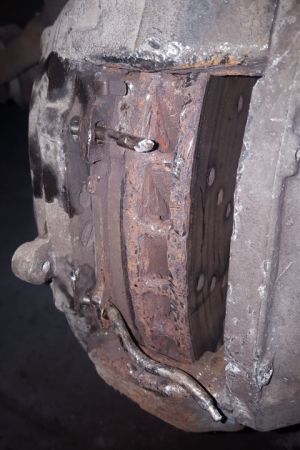
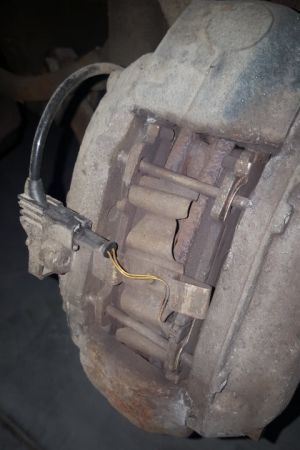
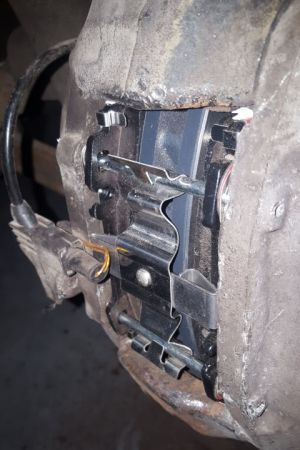
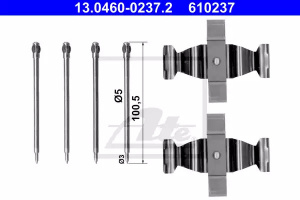
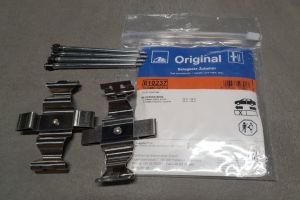
In case brake pads are changed after several years, the spring bolts become seized and to remove them they have to be bent and broken out (see photo below). When buying brake accessory kit, make sure to purchase spring that has bolt anchors (e.g., kit by ATE) to prevent spring from slipping off the bolts (see photos below).
 |
 |
 |
Part numbers:
- Spring - A0004217891 (replaced by A0004219791) (14 EUR)
- Bolts - A0019915160 (12 EUR)
- Kit - ATE 13.0460-0237.2 (9 EUR)
 |
 |
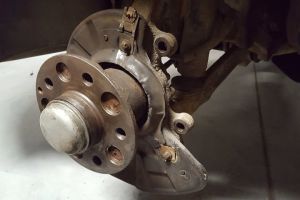
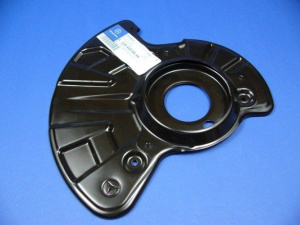
Front dust shield
It is common for the dust shield (also known as protective plate) to rust in the bolt holes resulting in the dust shield touching disk rotor. For the front axle aftermarket dust shields are not available in the market.
 |
Part numbers:
- OE left: A2204200444 (124 EUR)
- OE right: A2204200544 (124 EUR)
 |
Remove/install brake disc (front axle)
|
|
Remove/install:
- Remove wheels
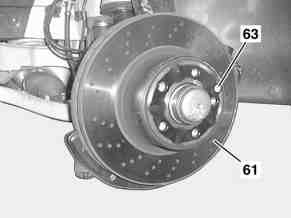
- Check brake lining thickness and brake disks (61). Inspect condition of brake disks. Check brake lining thickness. Only replace brake pads and brake disks (61) in complete sets if necessary. If the brake pads have worn down to beyond the wear limit, the bar between the sealing groove and dust cap may be damaged; therefore: Inspect brake system for leaks with pressure tester.
- Remove brake disk. Do not detach brake hose, instead attach brake caliper to vehicle so that it is free of tension. Do not kink or tension brake hose, as otherwise it will be damaged.
- Remove locking bolt (64) and remove brake disk (61). Installation: Replace securing bolt (64)
Clean:
- Clean contact surfaces and seat of brake disk (61) if necessary.
- Lightly grease seat of brake disk (61) using Hot lubricating paste.
- Install in the reverse order
Checking:
- Carry out brake test on the test stand
Torque specifications:
- Locking bolt of rear/front axle brake disk: Nm 10
Rear brakes
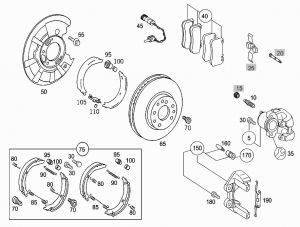
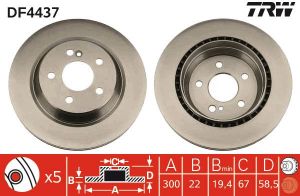
Rear disk brake rotor
- OE A2204230212 (120 EUR)
- TRW DF4437 (42 EUR/piece)
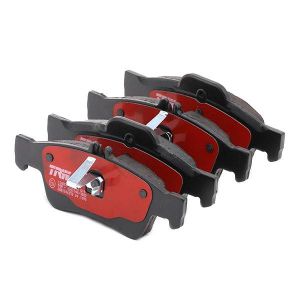
Rear disk brake pads
Brake pads are sold in pairs (for both sides).
- OE A0034205120 (87 EUR)
- TRW GDB1546DTE (35 EUR)
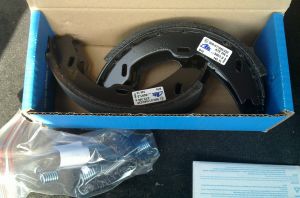
Brake shoes
For installation instructions see parking brake page.
Part numbers (set for both sides):
- OE - A2204200520 (87 EUR)
- Ate 03.0137-4016.2 (35 EUR) - comes with springs
- TRW GS8482 (30 EUR)
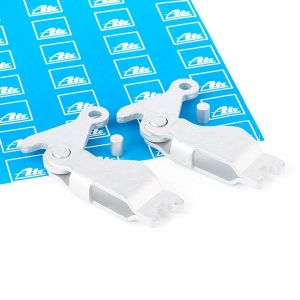
Brake shoe expansion lock
Part numbers (set for both sides):
- OE - A2014200589 (13 EUR)
- Ate 03.0137-9704.2 (6 EUR)
Rear dust shield
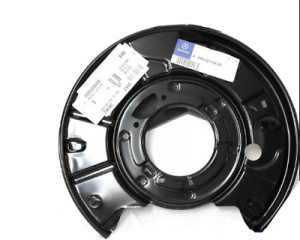
Part numbers (left):
- OE left: A2204230420 (124 EUR)
- A.b.s. 11320 (30 EUR)
- METZGER 6115177 (20 EUR)
Part numbers (right):
- OE right: A2204230520 (124 EUR)
- A.b.s. 11321 (30 EUR)
- METZGER 6115178 (20 EUR)
Rear brake pads replacement
This video shows how to replace front and rear brake pads. The video shows part numbers for the Brake Pads (Front and Rear) and Pad Wear Sensor. Torque values are also shown.
Rear driver brake caliper replacement
This video shows how to replace the rear driver caliper in a left steered car. The procedure is very similar for the other wheels.
Remove/install brake disc (rear axle)
|

|
Remove/install:
- Remove wheels
- Release parking brake
- Check brake lining thickness and brake disks (61). Inspect condition of brake disks. Check brake lining thickness. Only replace brake pads and brake disks (61) in complete sets if necessary. If the brake pads have worn down to beyond the wear limit, the bar between the sealing groove and dust cap may be damaged; therefore: Inspect brake system for leaks with pressure tester.
- Remove brake disk. Do not detach brake hose, instead attach brake caliper to vehicle so that it is free of tension. Do not kink or tension brake hose, as otherwise it will be damaged.
- Preloading automatic cable slack adjuster
- Remove locking bolt (64) and remove brake disk (61). If parking brake drums are run in, turn back the adjusting mechanism of the parking brake beforehand. Otherwise the brake shoes will be damaged. See: Adjusting parking brake. Installation: Replace securing bolt (64)
Clean:
- Clean contact surfaces and seat of brake disk (61) if necessary.
- Lightly grease seat of brake disk (61) using Hot lubricating paste.
- Check condition of brake shoes of parking brake. If necessary: replace parking brake brake shoes:
- Install in the reverse order
Checking:
- Check version of pedal assembly
- Adjust parking brake
- Release automatic slack adjuster
- Carry out brake test on the test stand
Torque specifications:
- Locking bolt of rear/front axle brake disk: Nm 10
- Bolt, brake cable at parking brake cable slack adjuster 12
Brake lines
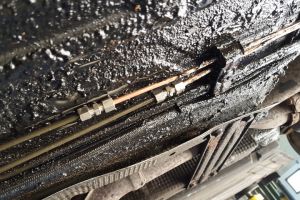
Brake fluid replacement
Regular Flush Every Two Years. Brake fluid DOT4 is hydroscopic (absorbs water) and needs to be exchanged every two years under the maintenance schedule. A local dealer quoted $95 for this task. Plan for between 1-1.5 hrs if you DIY.
Warnings
- It is critically important to use the DOT rating specified in the owner’s manual.
- Brake fluid is hazardous. Wear latex gloves, safety glasses, and protect the paint of your car.
DIY Brake Fluid Flush
- Suck out old fluid in reservoir using a miti-vac or a turkey baster.
- Top off with NEW UNOPENED DOT-4 PLUS fluid ONLY!
- Connect Power Bleeder which has been filled with NEW UNOPENED DOT-4 PLUS fluid!
- Pressurize the brake system with the Power Bleeder (138KPa (20 psi) via the integrated pump).
- Bleed all four callipers, LR, RR, LF and then RF.
- Inspect for leaks.
- Depressurize the system, CAUTION: DO NOT SPRAY THE FLUID, otherwise you will be getting a new paint job.
- Do a manual check of brake pressure
- Make a final check of the level of fluid in the brake reservoir.
- Record Brake Flush in Maintenance Records.
- Dispose of old brake fluid responsibly .
TIP: If possible alternate brake fluid colour from one flush to the next. The difference in colour gives good confidence that everything is flushed out.
Quantity of Brake Fluid Required for a Thorough Flush: It will use about 3L for a full and thorough flush.
The following video shows how to completely flush and replace the Brake Fluid using the Pressure Vacuum method.
Parts
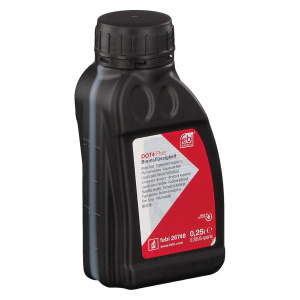
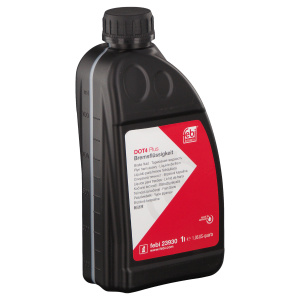
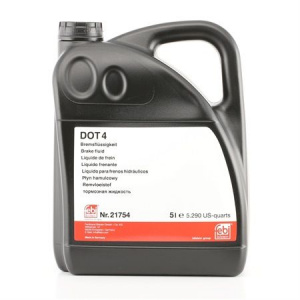
DOT 4 brake oils (MB 331.0 spec):
- FEBI BILSTEIN 26748 (0.25l) - 2.5 EUR
- FEBI BILSTEIN 23930 (1l) - 7.4 EUR
- FEBI BILSTEIN 23932 (5l) - 26.4 EUR
 |
 |
 |