Remove/install paneling on B-pillar
Remove/install paneling on B-pillar
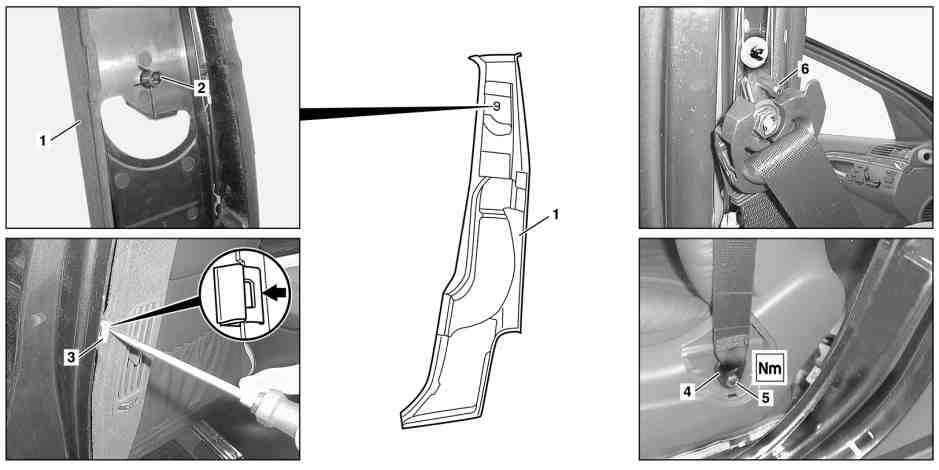
|
|
Remove:
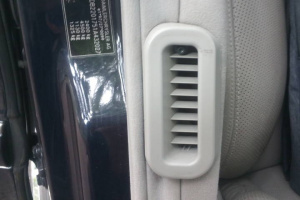
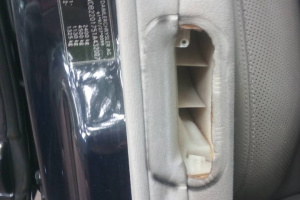
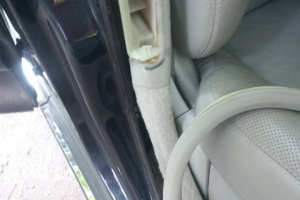
- Remove lumbar support control valve for rear seat backrest
- Remove door sill molding on front and rear doors. Rear door sill molding screwed in area of lumbar support control valve.
- Remove edge guard in area of paneling (1)
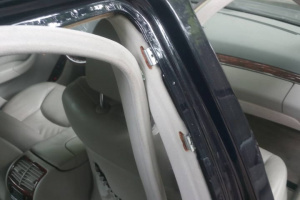
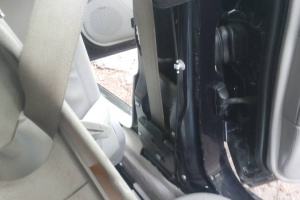
- Press paneling (1) out of retaining clips (3) with screwdriver
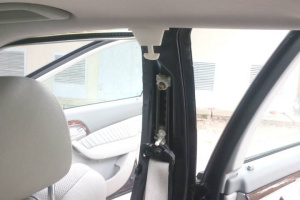
- Unscrew screw (5) from belt end fitting (4)
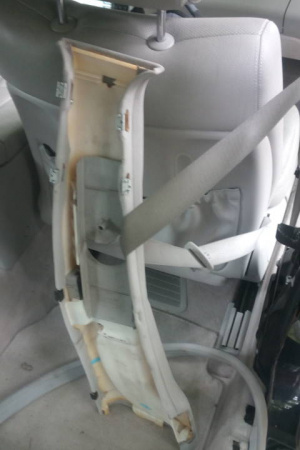
- Pull out belt at paneling (1) and detach paneling
Install:
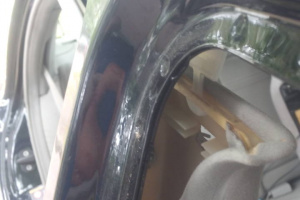
- Check retaining clips (3) (7 each) on B-pillar
- Guide belt end fitting (4) through opening in paneling (1)
- Guide bolt (6) into mount (2) for paneling (1)
- Clip paneling (1) to retaining clips (3)
- Screw belt end fitting (4) to driver's seat with bolt (5) so that it still can be moved
- Install edge guard on B-pillar
- Install front and rear door sill molding
- Install lumbar support control valve for rear seat backrest
- Check adjustable upper belt guide fitting on B-pillar for proper function
- Screw on belt end fitting: 30 Nm
 |
 |
 |
 |
 |
 |
  |