Rear view camera: Difference between revisions
Ricebubbles (talk | contribs) (→CAMERA6: Added new section for CAMERA7) |
|||
| (70 intermediate revisions by 3 users not shown) | |||
| Line 1: | Line 1: | ||
= | ==Description== | ||
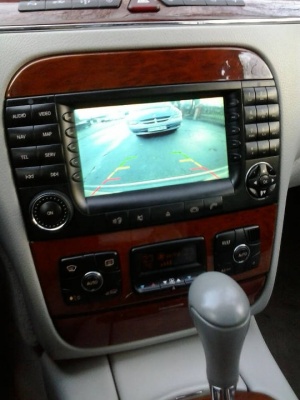
Installing a rear view camera is a nice feature, especially if the rear window is tinted. This section covers rear view camera installation on a W220 and various rear view cameras. | |||
To see the picture on COMAND screen a [[COMAND Multimedia interface|multimedia interface]] must be installed. Alternatively, a cheap (~15 USD) LCD monitor can be used to see the picture. | |||
[[File: | [[File:W220_rear_view_camera_on_COMAND_screen.jpg|300px]] | ||
= | ==Wiring== | ||
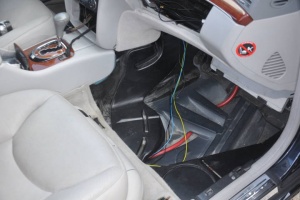
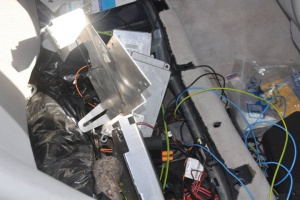
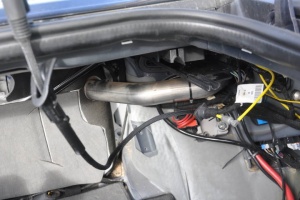
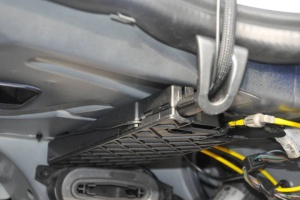
== | The simplest path from the front panel to the rear under seat is to follow the thick, red positive wire. Then the wire can follow wires that go from rear SAM to trunk cover. | ||
[[File:W220 wiring front to rear front.jpg|300px]] | |||
[[File:W220 wiring front to rear rear.jpg|300px]] | |||
[[File:Rear view camera supposedly for w220.jpg| | [[File:W220_rear_camera_trunk_wire.jpg|300px]] | ||
[[File:W220_rear_camera_trunk_second_wire.jpg|300px]] | |||
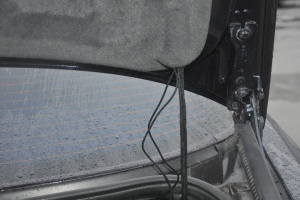
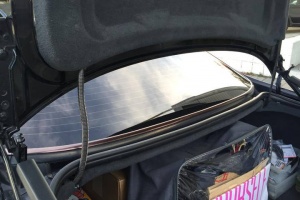
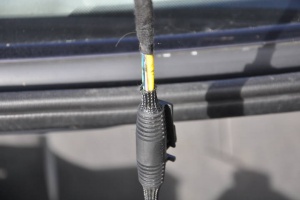
The wires in the trunk cover wiring shield seem to be glued, therefore it seems that extra wire for camera cannot be pulled through. | |||
[[File:W220_rear_camera_trunk_wire_1.jpg|300px]] | |||
[[File:W220_rear_camera_trunk_wire_2.jpg|300px]] | |||
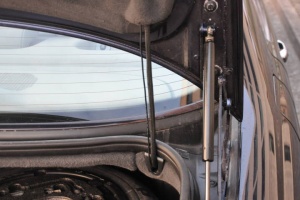
Relatively elegant solution is to run camera wire in parallel with trunk wiring shield. | |||
'''Note:''' the solution shown in the photo below is risky because if the camera wire prevents movement of trunk cover wiring, | |||
the trunk cover wiring on the closure of trunk will bent and eventually result in broken air line. | |||
[[File:W220_rear_camera_trunk_wire_3.jpg|300px]] | |||
[[File:W220_rear_camera_trunk_wire_4.jpg|300px]] | |||
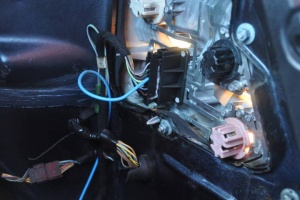
To activate rear view camera when the reverse is engaged the activation cable (the blue wire in the picture) can be connected to reverse cable of [[tail lights]]. | |||
[[File:W220_rear_lights_reverse_light_cable.jpg|300px]] | |||
==Mounting Locations== | |||
W220 do not have rear view camera as an OE option. It can be difficult to find a workable and convenient location for installing an aftermarket camera. Possibilities include: | |||
* A special number plate housing with a camera built in. | |||
* A camera mounted on a bar which is fitted on the top of the rear number plate using the existing screws. | |||
* A camera in a purposefully designed handle which can replace the existing trunk handle. | |||
* A camera in a purposefully designed licence plate light fitting to replace one of the existing lights. | |||
* A universal style stand-alone camera which can be fitted on either vertical or horizontal surfaces but does require a hole to be drilled in the car body. | |||
== Cameras == | |||
There are several rear view cameras available on eBay. | |||
===CAMERA1 (eBay)=== | |||
Typical Price: 35 USD | |||
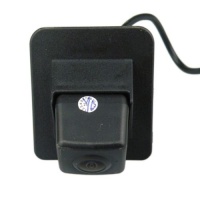
This one is marketed on eBay as a W220 rear view camera, however, there is no place where it could be possibly mounted. | |||
[[File:Rear view camera supposedly for w220.jpg|200px]] | |||
===CAMERA2 (licence plate light module)=== | |||
Price: 50 USD | Price: 50 USD | ||
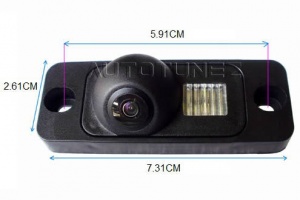
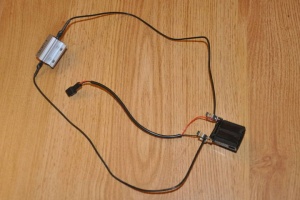
LED | The camera comes with built-in LED which is powered by a separate wire. Note, that the LED is not CANBUS "error free", which means that if connected to licence plate light wire the LED will blink and errors will appear on the instrument cluster. To make it work an additional resistance - load resistor of 150 ohm must be added (you can also use 100 ohm load resistor, but in that case if the LED malfunctions you will not receive error message on the instrument cluster). To mount it in place of original licence plate light module you will have to sacrifice the original module by breaking off the connector (or alternatively drilling two holes). Breaking it is easy since if the original licence plate module has been used for a while the plastic becomes very fragile (see [[License Plate Lights|license plate lights]] page). | ||
{| | |||
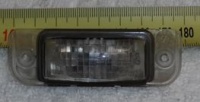
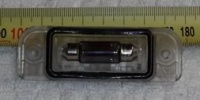
| style="vertical-align:top;" |[[File:W220 rear view camera licence plate light module.jpg|thumb|none|Dimensions of the camera. Fits well into the original licence plate light bulb module.]] | |||
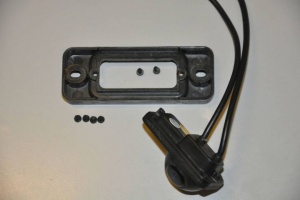
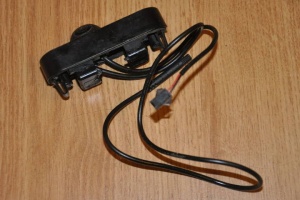
| style="vertical-align:top;" |[[File:W220_rear_view_camera_licence_plate_light_module_dissected.jpg|thumb|none|Camera dissected. Although 4 screws on the camera plastic can be unscrewed, the camera module cannot be opened - plastic has been melted together.]] | |||
|} | |||
{| | |||
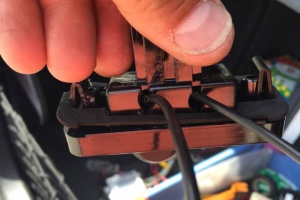
| style="vertical-align:top;" |[[File:W220_rear_view_camera_in_licence_plate_light_module.jpg|thumb|none|Camera screwed in the original licence plate light module housing.]] | |||
| style="vertical-align:top;" |[[File:W220_rear_view_camera_in_licence_plate_light_module_with_holes.jpg|thumb|none|Original licence plate light module with two holes drilled (alternative to breaking the connector off).]] | |||
|} | |||
[[File: | {| | ||
| style="vertical-align:top;" |[[File:W220_licence_plate_light_module_camera_LED_connector_with_load_resistor.jpg|thumb|none|Load resistor and camera connector soldered to licence plate light module bulb contacts.]] | |||
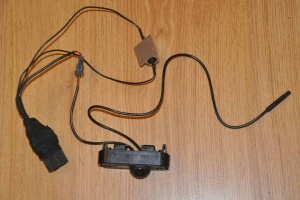
| style="vertical-align:top;" |[[File:W220_rear_view_camera_in_licence_plate_light_module_final.jpg|thumb|none|Ready for use. One connector must be plugged in the licence plate light connector, other to composite video plug that comes with the camera.]] | |||
|} | |||
{| | |||
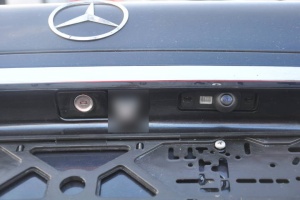
| style="vertical-align:top;" |[[File:W220_rear_view_camera_licence_plate_light_module_installed.jpg|thumb|none|Camera mounted in the trunk cover.]] | |||
|} | |||
[[ | '''CAMERA2 Advantages''': | ||
* Discrete mounting (hardly visible from distance). | |||
'''CAMERA2 Disadvantages''': | |||
* The small LED provides less light onto the licence plate than aftermarket LED modules (see [[License Plate Lights|license plate lights]] page). | |||
* Has relatively small view angle (see comparison below). | |||
* Since mounted 20cm away from center, makes rear view biased (see comparison below). | |||
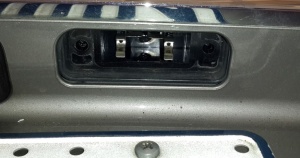
[[File: | [[File:W220 Rear Number Plate Light Socket.JPG|thumb|none|Licence plate light cover removed exposing the socket.]] | ||
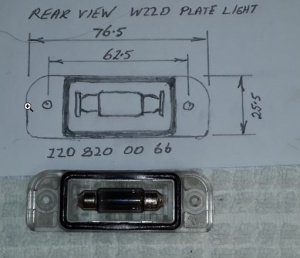
Front and back views of licence plate light cover. The part number is A2208200066. | |||
[[File:2208200066 Number Plate Light Front View.JPG|200px]] | |||
[[File:2208200066 Number Plate Light Rear View.JPG|200px]] | |||
[[File:2208200066 Number Plate Light Dimensions.JPG|thumb|none|Dimensions of licence plate light module.]] | |||
===CAMERA3 (generic)=== | |||
Price: 15 USD | Price: 15 USD | ||
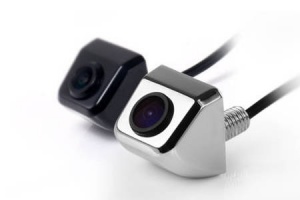
This is generic rear view camera that has to be mounted to ceiling. | |||
[[Trunk]] lid handle is a good place where to mount it. | |||
A good place to mount generic camera is on the trunk lid handle. | |||
However, for [[facelift ]]vehicles with [[Trunk#Retractable_Trunk_Lid_Grip|retractable trunk grip (RTG) handle]], finding a place where to mount the camera can be challenging. | |||
{| | |||
| style="vertical-align:top;" |[[File:W220 rear view camera generic.jpg|thumb|none|Camera available in two colors.]] | |||
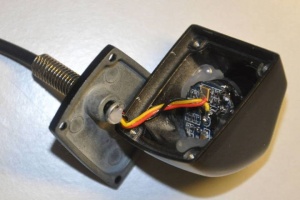
| style="vertical-align:top;" |[[File:W220_generic_rear_view_camera_dissected.jpg|thumb|none|Camera dissected.]] | |||
|} | |||
{| | |||
| style="vertical-align:top;" |[[File:W220 trunk lock latch rear camera drilled hole.jpg|thumb|none|Trunk handle with drilled hole for camera (pre-facelift).]] | |||
| style="vertical-align:top;" |[[File:W220 trunk lock latch rear camera.jpg|thumb|none|Trunk handle with camera fitted (pre-facelift).]] | |||
|} | |||
{| | |||
| style="vertical-align:top;" |[[File:W220_generic_rear_view_camera_trunk_latch.jpg|thumb|none|Camera mounted (pre-facelift).]] | |||
| style="vertical-align:top;" |[[File:W220_generic_rear_view_camera_installed.jpg|thumb|none|Camera mounted (view from distance).]] | |||
|} | |||
{| | |||
|[[File:W220_rearview_camera_facelift_drilled_1.jpg|thumb|none|Trunk handle with drilled hole for camera (facelift).]] | |||
|[[File:W220_rearview_camera_facelift_drilled_2.jpg|thumb|none|Trunk handle with drilled hole (facelift).]] | |||
|} | |||
{| | |||
|[[File:W220_rearview_camera_facelift_mounted_1.jpg|thumb|none|Camera mounted (facelift).]] | |||
|[[File:W220_rearview_camera_facelift_mounted_2.jpg|thumb|none|Camera mounted (view from distance).]] | |||
|} | |||
'''CAMERA3 - Advantages''': | |||
* Can be mounted very close to the center of car (in case of pre-facelift trunk lid handle). | |||
* Has large view angle (see comparison below). | |||
'''CAMERA3 - Disadvantages''': | |||
* Not very discrete (visible from distance). | |||
===CAMERA4=== | |||
[[File:W220 Rear View Camera Other Type.JPG|thumb|none|Other rear view camera mounted (CAMERA4).]] | |||
===CAMERA5 (license plate light lens) === | |||
Price: 25 USD | |||
{| | |||
|[[File:W220_rear_view_camera_5.jpg|thumb|none|Licence plate light lens camera.]] | |||
|[[File:W220_rear_view_camera_5_dimenions.jpg|thumb|none|Dimensions.]] | |||
|} | |||
Feedback from eBay: | |||
"Received this camera today after a three week wait and it is not a direct replacement of the license plate light lens. | |||
The brackets that hold the lamp are too long and the lens itself does not bubble out and accommodate the lens like the original does. | |||
There's no way to adjust the camera left or right. The camera is made of two pieces and both pieces were put together by some sort of RTV that does not cover all the electronic pieces. | |||
Mine came apart. Great concept, but the execution was poor." | |||
===CAMERA6=== | |||
[[File:W220_rear_view_camera_bumper.jpg|thumb|none|Rear view camera mounted in bumper molding.]] | |||
===CAMERA7 (Erisin)=== | |||
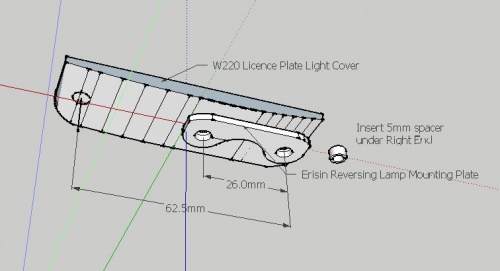
Company Erisin supply after market Media Units with Rear View Cameras as an optional extra. The ES580 Rear View Camera is an 18mm diameter colour CCD which may be mounted on one of the W220 licence plate lamp covers. | |||
[[File:Erisin Rear View Camera Dimensions.jpg|500px|none|Dimensions of Erisin ES580 Rear View Camera.]] | |||
As the W220 Licence Plate Lens Cover surface is curved a small 5mm spacer may be inserted between the camera base and the lamp cover. The existing mounting screw may be replaced with a longer screw to suit. A short screw is used to fasten the camera base plate to the centre of the lamp cover. The screw and internal nut just clear the 5W festoon style bulb. | |||
[[File:W220 and Erisin Rear View Camera Schematic.JPG|500px|none|Schematic of Erisin ES580 Rear View Camera mounted on a W220 Licence Plate Lamp Lens Cover.]] | |||
Front and back views of licence plate light cover. The part number is A2208200066. | |||
[[File:2208200066 Number Plate Light Front View.JPG|200px]] | |||
[[File:2208200066 Number Plate Light Rear View.JPG|200px]] | |||
[[File:2208200066 Number Plate Light Dimensions.JPG|thumb|none|Dimensions of licence plate light module.]] | |||
A small 3mm diameter groove was filed in the side of the Licence Plate Holder to take the camera coaxial cable. | |||
[[File:W220 and Erisin Rear View Camera.JPG|500px|none|Erisin ES580 Rear View Camera mounted on a W220 Licence Plate Lamp Lens Cover.]] | |||
Surprisingly the camera base plate does not obscure very much light. | |||
==Comparison== | |||
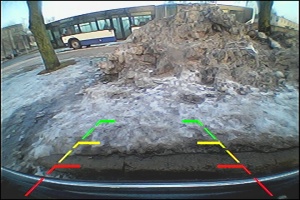
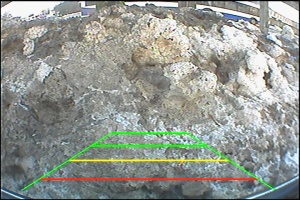
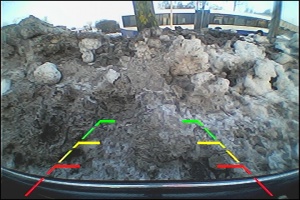
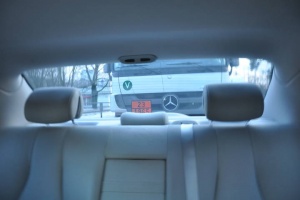
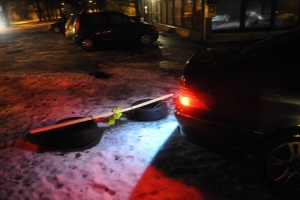
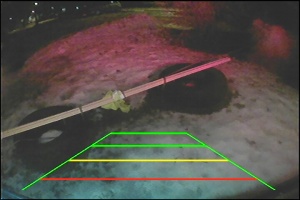
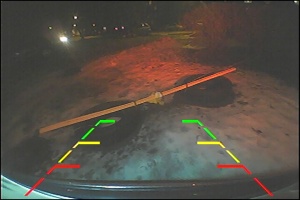
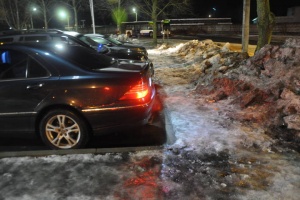
Here we provide a comparison of two rear view cameras. | |||
The rear view camera in the licence plate light module (CAMERA2) and | |||
the generic rear view camera (CAMERA3). | |||
[[File:W220_generic_rear_view_camera_and_licence_plate_light_module_camera.jpg|none|thumb|Vehicle with the two cameras mounted.]] | |||
= | {| class="wikitable" | ||
! Actual | |||
! CAMERA2 | |||
! CAMERA3 | |||
|- | |||
|[[File:rear_view_camera_exp1.jpg|300px]] | |||
|[[File:rear_view_camera2_exp1.jpg|300px]] | |||
|[[File:rear_view_camera1_exp1.jpg|300px]] | |||
|- | |||
|[[File:rear_view_camera_exp2.jpg|300px]] | |||
|[[File:rear_view_camera2_exp2.jpg|300px]] | |||
|[[File:rear_view_camera1_exp2.jpg|300px]] | |||
|- | |||
|[[File:rear_view_camera_exp3.jpg|300px]] | |||
|[[File:rear_view_camera2_exp3.jpg|300px]] | |||
|[[File:rear_view_camera1_exp3.jpg|300px]] | |||
|- | |||
|[[File:rear_view_camera_exp4.jpg|300px]] | |||
|[[File:rear_view_camera2_exp4.jpg|300px]] | |||
|[[File:rear_view_camera1_exp4.jpg|300px]] | |||
|- | |||
|[[File:rear_view_camera_exp8.jpg|300px]] | |||
|[[File:rear_view_camera2_exp8.jpg|300px]] | |||
|[[File:rear_view_camera1_exp8.jpg|300px]] | |||
|- | |||
|[[File:rear_view_camera_exp7.jpg|300px]] | |||
|[[File:rear_view_camera2_exp7.jpg|300px]] | |||
|[[File:rear_view_camera1_exp7.jpg|300px]] | |||
|- | |||
|[[File:rear_view_camera_exp9.jpg|300px]] | |||
|[[File:rear_view_camera2_exp9.jpg|300px]] | |||
|[[File:rear_view_camera1_exp9.jpg|300px]] | |||
|- | |||
|[[File:rear_view_camera_exp5.jpg|300px]] | |||
|[[File:rear_view_camera2_exp5.jpg|300px]] | |||
|[[File:rear_view_camera1_exp5.jpg|300px]] | |||
|- | |||
|[[File:rear_view_camera_exp6.jpg|300px]] | |||
|[[File:rear_view_camera2_exp6.jpg|300px]] | |||
|[[File:rear_view_camera1_exp6.jpg|300px]] | |||
|- | |||
|[[File:rear_view_camera_exp10.jpg|300px]] | |||
|[[File:rear_view_camera2_exp10.jpg|300px]] | |||
|[[File:rear_view_camera1_exp10.jpg|300px]] | |||
|- | |||
|[[File:rear_view_camera_exp11.jpg|300px]] | |||
|[[File:rear_view_camera2_exp11.jpg|300px]] | |||
|[[File:rear_view_camera1_exp11.jpg|300px]] | |||
|- | |||
|[[File:rear_view_camera_exp12.jpg|300px]] | |||
|[[File:rear_view_camera2_exp12.jpg|300px]] | |||
|[[File:rear_view_camera1_exp12.jpg|300px]] | |||
|} | |||
Latest revision as of 05:08, 14 July 2018
Description
Installing a rear view camera is a nice feature, especially if the rear window is tinted. This section covers rear view camera installation on a W220 and various rear view cameras.
To see the picture on COMAND screen a multimedia interface must be installed. Alternatively, a cheap (~15 USD) LCD monitor can be used to see the picture.
Wiring
The simplest path from the front panel to the rear under seat is to follow the thick, red positive wire. Then the wire can follow wires that go from rear SAM to trunk cover.
The wires in the trunk cover wiring shield seem to be glued, therefore it seems that extra wire for camera cannot be pulled through.
Relatively elegant solution is to run camera wire in parallel with trunk wiring shield.
Note: the solution shown in the photo below is risky because if the camera wire prevents movement of trunk cover wiring, the trunk cover wiring on the closure of trunk will bent and eventually result in broken air line.
To activate rear view camera when the reverse is engaged the activation cable (the blue wire in the picture) can be connected to reverse cable of tail lights.
Mounting Locations
W220 do not have rear view camera as an OE option. It can be difficult to find a workable and convenient location for installing an aftermarket camera. Possibilities include:
- A special number plate housing with a camera built in.
- A camera mounted on a bar which is fitted on the top of the rear number plate using the existing screws.
- A camera in a purposefully designed handle which can replace the existing trunk handle.
- A camera in a purposefully designed licence plate light fitting to replace one of the existing lights.
- A universal style stand-alone camera which can be fitted on either vertical or horizontal surfaces but does require a hole to be drilled in the car body.
Cameras
There are several rear view cameras available on eBay.
CAMERA1 (eBay)
Typical Price: 35 USD
This one is marketed on eBay as a W220 rear view camera, however, there is no place where it could be possibly mounted.
CAMERA2 (licence plate light module)
Price: 50 USD
The camera comes with built-in LED which is powered by a separate wire. Note, that the LED is not CANBUS "error free", which means that if connected to licence plate light wire the LED will blink and errors will appear on the instrument cluster. To make it work an additional resistance - load resistor of 150 ohm must be added (you can also use 100 ohm load resistor, but in that case if the LED malfunctions you will not receive error message on the instrument cluster). To mount it in place of original licence plate light module you will have to sacrifice the original module by breaking off the connector (or alternatively drilling two holes). Breaking it is easy since if the original licence plate module has been used for a while the plastic becomes very fragile (see license plate lights page).
 |
 |
 |
CAMERA2 Advantages:
- Discrete mounting (hardly visible from distance).
CAMERA2 Disadvantages:
- The small LED provides less light onto the licence plate than aftermarket LED modules (see license plate lights page).
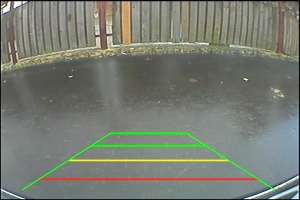
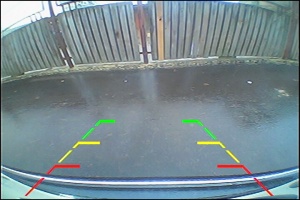
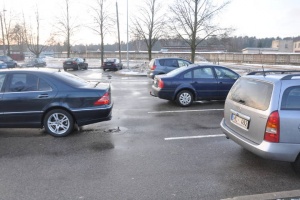
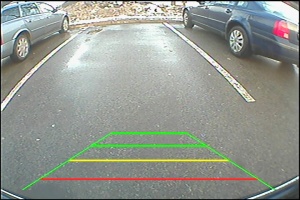
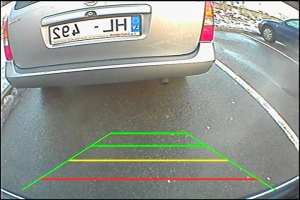
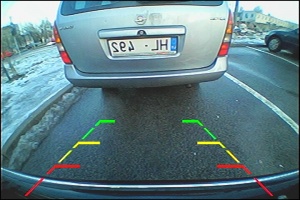
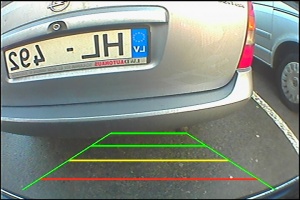
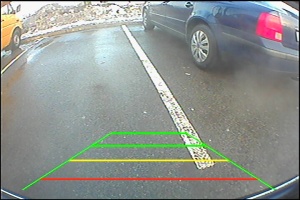
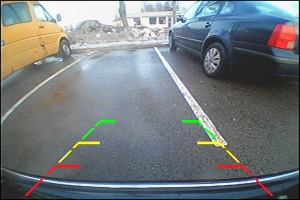
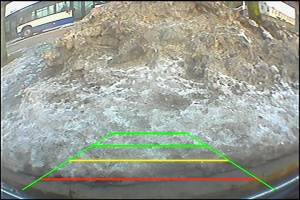
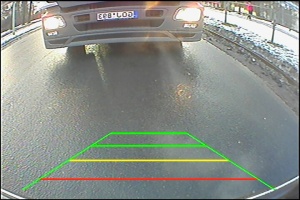
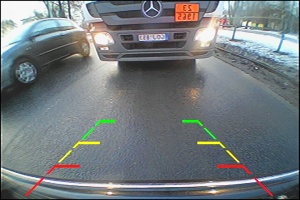
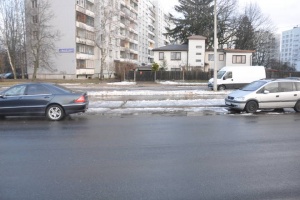
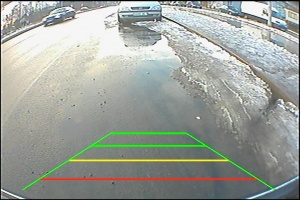
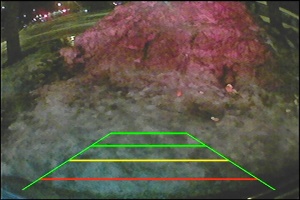
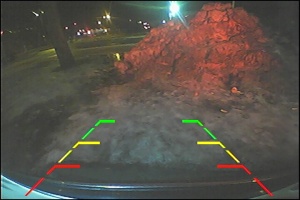
- Has relatively small view angle (see comparison below).
- Since mounted 20cm away from center, makes rear view biased (see comparison below).
Front and back views of licence plate light cover. The part number is A2208200066.
CAMERA3 (generic)
Price: 15 USD
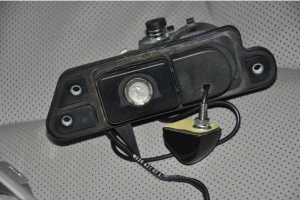
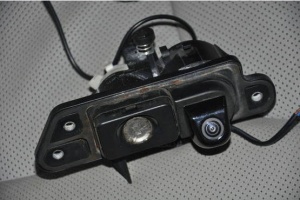
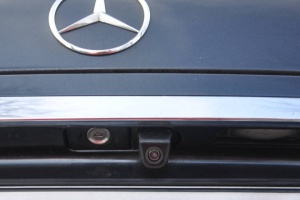
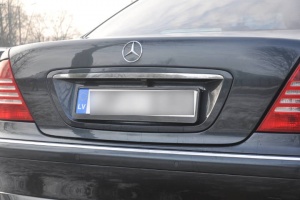
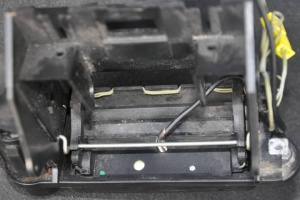
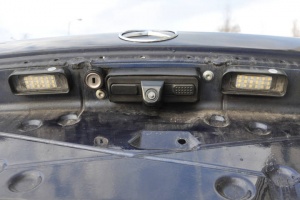
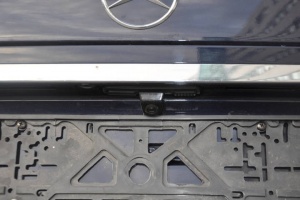
This is generic rear view camera that has to be mounted to ceiling. Trunk lid handle is a good place where to mount it.
A good place to mount generic camera is on the trunk lid handle. However, for facelift vehicles with retractable trunk grip (RTG) handle, finding a place where to mount the camera can be challenging.
 |
 |
 |
 |
 |
 |
 |
 |
 |
 |
CAMERA3 - Advantages:
- Can be mounted very close to the center of car (in case of pre-facelift trunk lid handle).
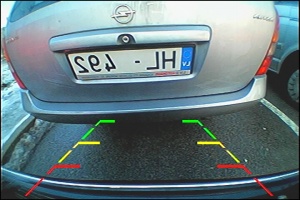
- Has large view angle (see comparison below).
CAMERA3 - Disadvantages:
- Not very discrete (visible from distance).
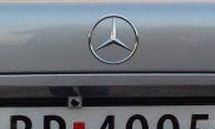
CAMERA4
CAMERA5 (license plate light lens)
Price: 25 USD
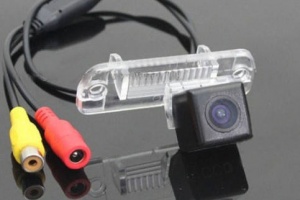 |
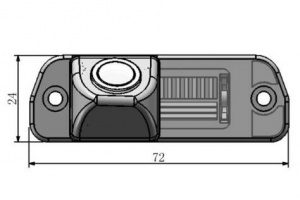 |
Feedback from eBay: "Received this camera today after a three week wait and it is not a direct replacement of the license plate light lens. The brackets that hold the lamp are too long and the lens itself does not bubble out and accommodate the lens like the original does. There's no way to adjust the camera left or right. The camera is made of two pieces and both pieces were put together by some sort of RTV that does not cover all the electronic pieces. Mine came apart. Great concept, but the execution was poor."
CAMERA6
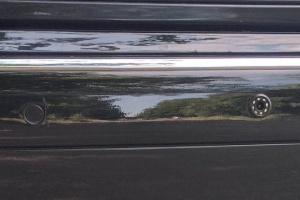
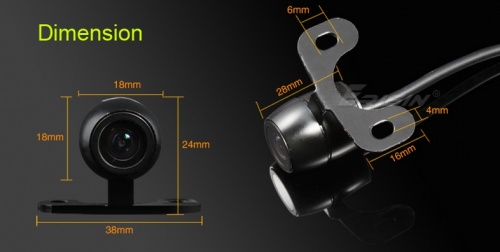
CAMERA7 (Erisin)
Company Erisin supply after market Media Units with Rear View Cameras as an optional extra. The ES580 Rear View Camera is an 18mm diameter colour CCD which may be mounted on one of the W220 licence plate lamp covers.
As the W220 Licence Plate Lens Cover surface is curved a small 5mm spacer may be inserted between the camera base and the lamp cover. The existing mounting screw may be replaced with a longer screw to suit. A short screw is used to fasten the camera base plate to the centre of the lamp cover. The screw and internal nut just clear the 5W festoon style bulb.
Front and back views of licence plate light cover. The part number is A2208200066.

A small 3mm diameter groove was filed in the side of the Licence Plate Holder to take the camera coaxial cable.
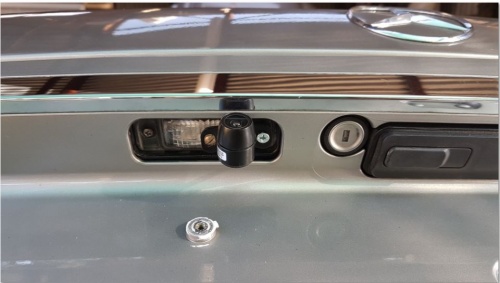
Surprisingly the camera base plate does not obscure very much light.
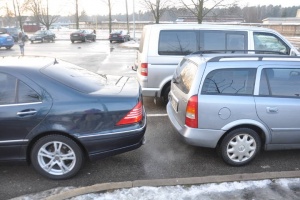
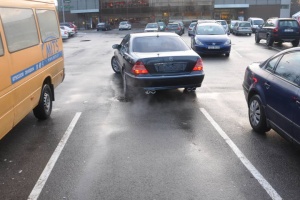
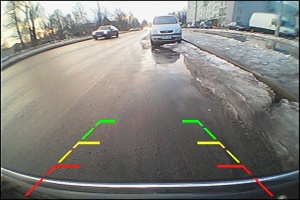
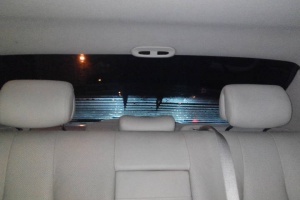
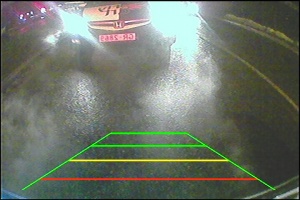
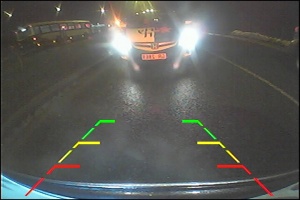
Comparison
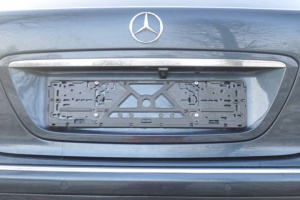
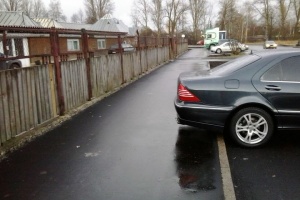
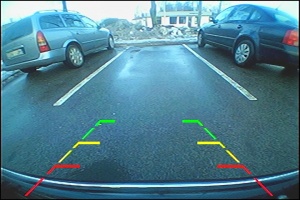
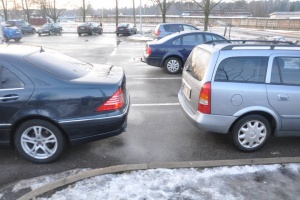
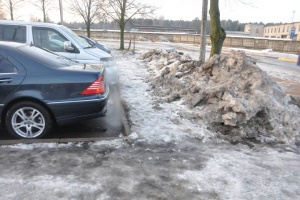
Here we provide a comparison of two rear view cameras. The rear view camera in the licence plate light module (CAMERA2) and the generic rear view camera (CAMERA3).
| Actual | CAMERA2 | CAMERA3 |
|---|---|---|
|
|
|
|
|
|
|
|
|
|
|
|
|
|
|
|
|
|

|
|
|
|
|
|
|
|
|
|
|
|
|
|
|
|
|
|
