Bumpers: Difference between revisions
Jump to navigation
Jump to search
(→Remove/install front bumper: photos added) |
(→Bumper Strip Removal: formatting fix) |
||
| Line 60: | Line 60: | ||
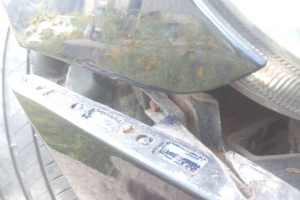
==Bumper Strip Removal== | ==Bumper Strip Removal== | ||
{{#ev:youtube|https://www.youtube.com/watch?v=ZRZWV-lrqvA|320|center|W220 bumper strip front removal.|frame}} | {| | ||
{{#ev:youtube|https://www.youtube.com/watch?v=J1BqqDaKSos|320|center|W220 bumper strip rear removal.|frame}} | |{{#ev:youtube|https://www.youtube.com/watch?v=ZRZWV-lrqvA|320|center|W220 bumper strip front removal.|frame}} | ||
|{{#ev:youtube|https://www.youtube.com/watch?v=J1BqqDaKSos|320|center|W220 bumper strip rear removal.|frame}} | |||
|} | |||
== Facelift Model Bumpers== | == Facelift Model Bumpers== | ||
Revision as of 15:13, 29 August 2017
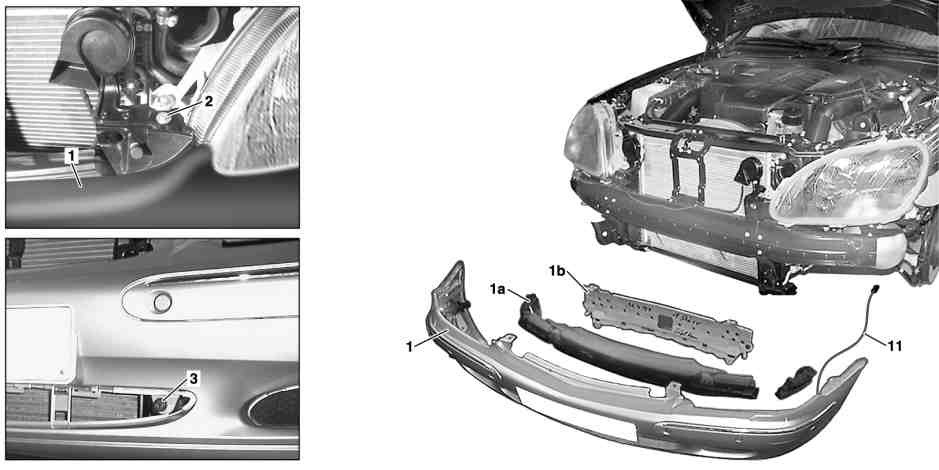
Remove/install front bumper
|
|
|
|
- Expose antenna line (11) for TV antenna
- Electrical plug socket in left fuse box. Installation: Install new tie straps.
- Engine 112, 113, 137, 275:
- Remove bottom engine compartment paneling. Only remove front part.
- Engine 613, 628, 648:
- Remove bottom part of noise encapsulation. Only remove front part.
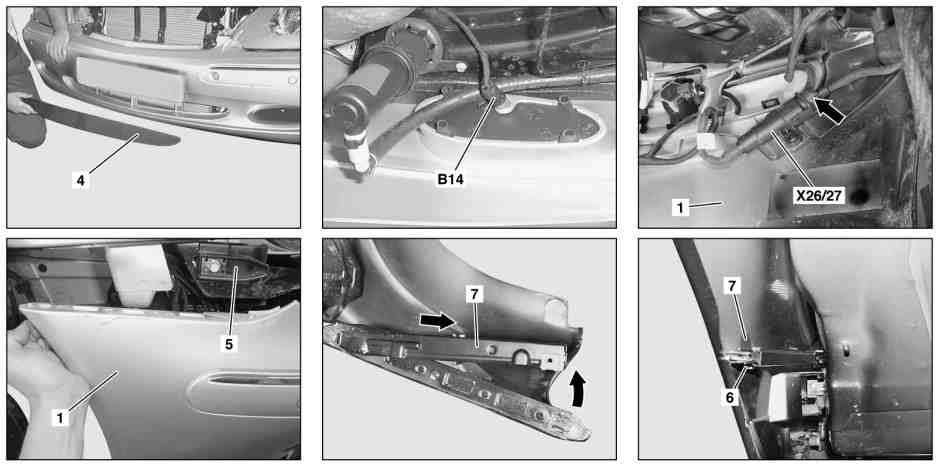
- Pull outside temperature display temperature sensor (B14) out of bumper
- Unlock and separate front bumper PTS connector (X26/27). To unlock, pivot lock flap in direction of arrow.
- Remove fender liner from front fender. Remove only front section of fender liner.
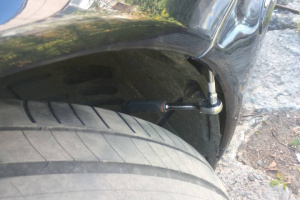
- Unscrew bolt (6)
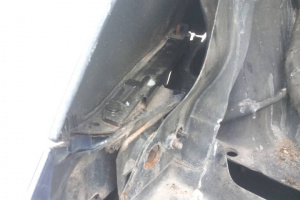
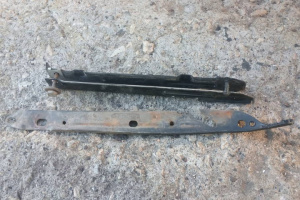
- Pivot retaining bracket (7) toward center of vehicle, pull out to rear and remove
- Unscrew bolt (2)
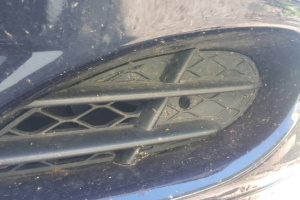
- Unclip air inlet grate (4). Do not damage paint.
- Unscrew nuts (3).
- Remove bumper (1) toward front. Installation: Ensure that retainer tabs on rear bumper (1) are pushed behind bracket (5).
- Install in the reverse order
 |
 |
 |
 |
 |
 |
Bumper Strip Removal
Facelift Model Bumpers
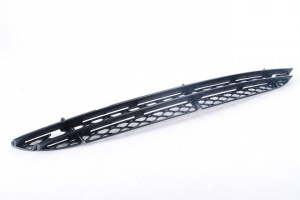
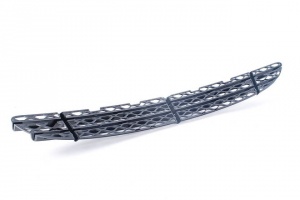
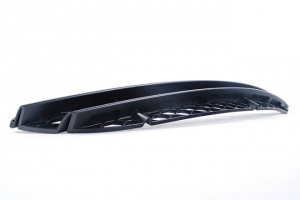
Front Center Lower Grille
Part number A2208851523.
 |
 |
 |