Car Solutions RGB-LE-V3.1: Difference between revisions
(update) |
(→RGB Converter: update) |
||
| Line 45: | Line 45: | ||
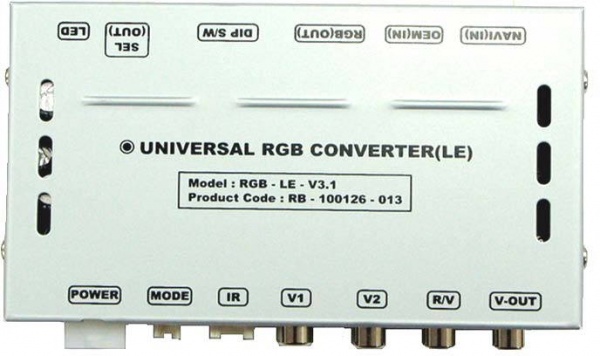
[[File:Universal_RGB_converter_LE_bottom_side.jpg|600px]] | [[File:Universal_RGB_converter_LE_bottom_side.jpg|600px]] | ||
Dimensions: horizontal - 129mm, vertical - 75mm, height - 21mm. | |||
=== POWER === | === POWER === | ||
This port is used to connect power cable with fuse box. | |||
{| | |||
|[[File:Universal_RGB_converter_LE_power_cable_fuse_box.jpg|thumb|none|Power cable and fuse box.]] | |||
|[[File:Universal_RGB_interface_LE_fuse_box_open.jpg|thumb|none|Fuse box open.]] | |||
|} | |||
RGB converter accepts input power: 8V~18V DC. | |||
Power consumption max 5 watt. | |||
Installed fuse has 5A 250V rating. | |||
{| class="wikitable" | |||
! Wire | |||
! Description | |||
|- | |||
| | |||
|not connected | |||
|- | |||
|read | |||
|ACC (power) | |||
|- | |||
|gray | |||
|REV GEAR LAMP (activates rear view camera input) | |||
|- | |||
|blue | |||
|FMTX antenna (???) | |||
|- | |||
|orange | |||
|I-Drive (???) | |||
|- | |||
|black | |||
|GND (ground) | |||
|} | |||
=== MODE === | === MODE === | ||
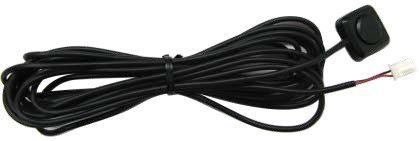
This port is used to connect mode switch cable with switch button. | |||
[[File:Universal_RGB_converter_LE_mode_switch_cable.png]] | |||
AV source switching order: OEM - RGB - AV1 - AV2 - AV3. | |||
=== IR === | === IR === | ||
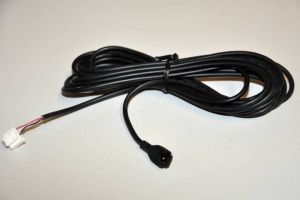
This port is used to connect infrared receiver for the remote control. For the 4-pin connecter only 3 pins are used. | |||
[[File:Universal_RGB_interface_LE_infrared_cable.jpg|thumb|none|Infrared cable.]] | |||
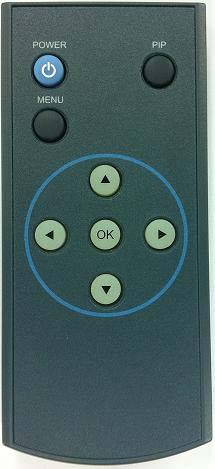
==== Remote Control ==== | |||
{| | |||
|[[File:Universal_RGB_converter_LE_remote_control.jpg|thumb|Remote control. Size:85*40*8 (mm).]] | |||
| | |||
{| class="wikitable" | |||
! Key | |||
! Function | |||
|- | |||
|POWER | |||
|Not used | |||
|- | |||
|PIP | |||
|Not used | |||
|- | |||
|MENU | |||
|OSD implementation | |||
|- | |||
|OK | |||
|Make selection | |||
|- | |||
|UP | |||
|Move upward | |||
|- | |||
|DOWN | |||
|Move downward | |||
|- | |||
|LEFT | |||
|Move leftward (press 2 seconds long - factory mode implementation) | |||
|- | |||
|RIGHT | |||
|Move rightward (press 2 seconds long - factory mode implementation and reset) | |||
|} | |||
|} | |||
Remote control is powered by CR2025 battery. | |||
=== V1 === | === V1 === | ||
This port is used to connect first video input (CVBS1). | |||
=== V2 === | === V2 === | ||
This port is used to connect second video input (CVBS1). | |||
=== R/V === | === R/V === | ||
This port is used to connect rear view camera. | |||
=== V-OUT === | === V-OUT === | ||
This port outputs currently selected video input. | |||
Can be used to send currently displayed video to headrest monitor. | |||
=== NAVI (IN) === | === NAVI (IN) === | ||
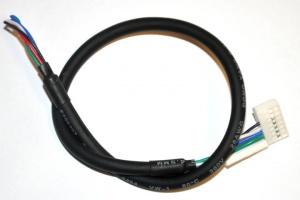
This port is used to connect navigation input (analog RGB). | |||
[[File:Universal_RGB_interface_LE_NAVI_in_cable.jpg|thumb|none|NAVI in cable.]] | |||
{| class="wikitable" | |||
! Wire | |||
! Description | |||
|- | |||
| | |||
|not connected | |||
|- | |||
| | |||
|not connected | |||
|- | |||
|black | |||
|GND | |||
|- | |||
|white | |||
|SYNC | |||
|- | |||
|blue | |||
|B DATA | |||
|- | |||
|green | |||
|G DATA | |||
|- | |||
|red | |||
|R DATA | |||
|} | |||
=== OEM (IN) === | === OEM (IN) === | ||
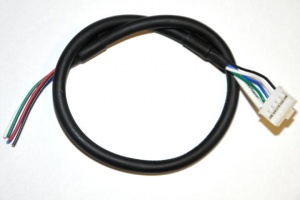
This port is used to connect original video input (analog RGB). | |||
[[File:Universal_RGB_interface_LE_OEM_in_cable.jpg|thumb|none|OEM in cable.]] | |||
{| class="wikitable" | |||
! Wire | |||
! Description | |||
|- | |||
|black | |||
|GND | |||
|- | |||
|white | |||
|SYNC | |||
|- | |||
|blue | |||
|B DATA | |||
|- | |||
|green | |||
|G DATA | |||
|- | |||
|red | |||
|R DATA | |||
|} | |||
=== RGB (OUT) === | === RGB (OUT) === | ||
This port connects to the RGB interface installed in W220 COMAND. | |||
The package comes with additional universal RGB connector (not needed for multimedia interface use with COMAND). | |||
[[File:Universal_RGB_interface_LE_RGB_out_cable.jpg|thumb|none|RGB out cable.]] | |||
{| class="wikitable" | |||
! Wire | |||
! Description | |||
|- | |||
|blue | |||
|B DATA | |||
|- | |||
|green | |||
|G DATA | |||
|- | |||
|red | |||
|R DATA | |||
|- | |||
|while | |||
|SYNC | |||
|- | |||
|black | |||
|GND | |||
|- | |||
|yellow | |||
|ACC | |||
|- | |||
|orange | |||
|VIDEO S/W | |||
|- | |||
| | |||
|not connected | |||
|} | |||
=== DIP S/W === | === DIP S/W === | ||
| Line 111: | Line 290: | ||
=== SEL (OUT) === | === SEL (OUT) === | ||
[[File:Universal_RGB_interface_LE_SEL_out_cable.jpg|thumb|none|SEL out cable.]] | |||
This 3-PIN port gives voltage on one PIN at a time, | |||
depending on the video source that is currently selected | |||
- REAR-SEL (white), AV1-SEL (yellow), NAVI-SEL (gray). | |||
For example, 12V output is on yellow wire when AV1 input source is chosen. | |||
Can be used to activate appropriate audio output. | |||
=== LED === | === LED === | ||
First LED lamp indicates that interface is on. | |||
Second LED lamp indicates that AV sources connected work well. | |||
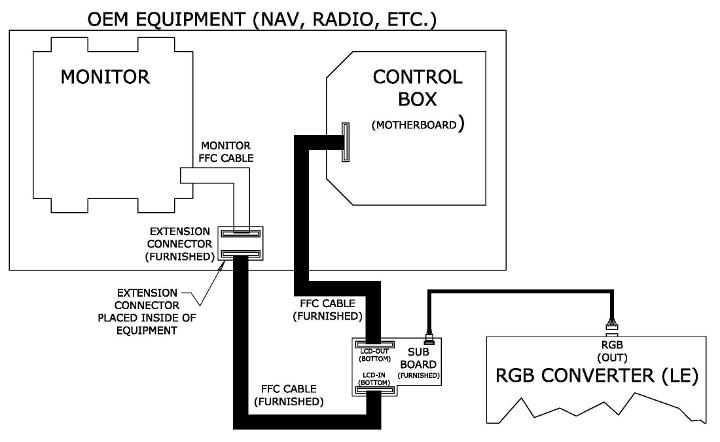
== Interface Connections == | == Interface Connections == | ||
Revision as of 16:04, 7 January 2017
Description
Yet another video input interface for Mercedes S-Class W220. Useful for rear view camera installation.
Price: USD 190.
Car video interface for Mercedes-Benz W220 allows connection and usage of external video devices such as DVD player, TV tuner, rear view camera, etc. on your built-in monitor.
Input: multi video interface:
- CVBS input (external video source) x 2
- CVBS input (rear camera source) x 1
- Analog RGB input (car commander original monitor output) x 1
- Analog RGB input (navigation system output) (option) x 1
Output:
- CVBS output (video out for headrest monitor installation) x 1
- RGB output (LCD operation) x 1
- Audio select output x 1
Switch input mode:
- Possible to mute each input by operating DIP S/W
- Possible to switch input mode with remote control or toggle switch.
- Rear view camera mode: rear view camera is switched when the vehicle is reversing (impossible to switch to the rear mode with the toggle or the remote control)
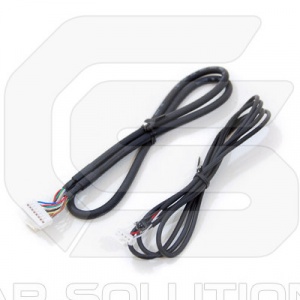
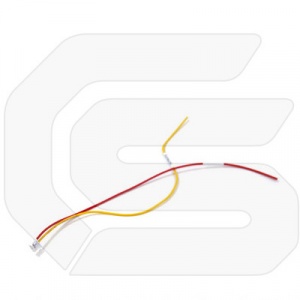
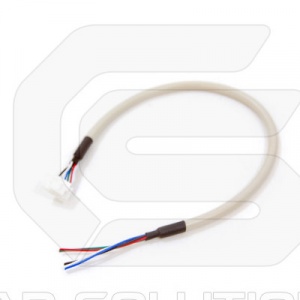
Package Contents
 |
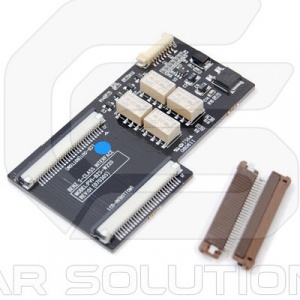 |
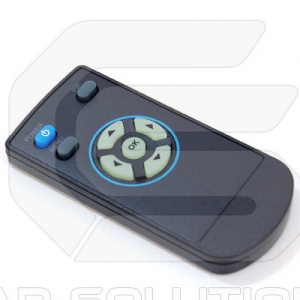 |
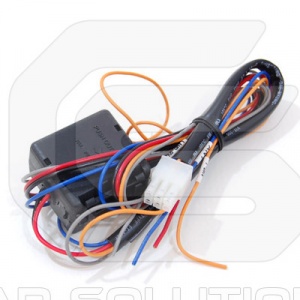 |
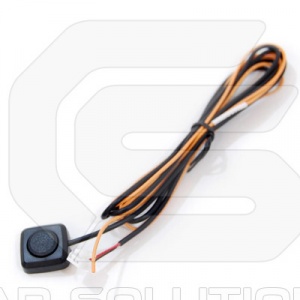 |
 |
 |
 |
RGB Converter
Dimensions: horizontal - 129mm, vertical - 75mm, height - 21mm.
POWER
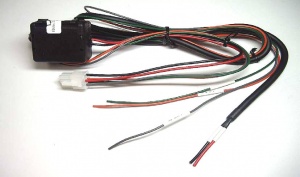
This port is used to connect power cable with fuse box.
 |
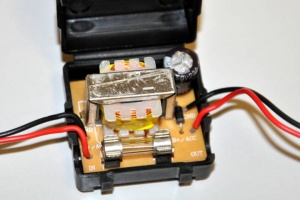 |
RGB converter accepts input power: 8V~18V DC. Power consumption max 5 watt. Installed fuse has 5A 250V rating.
| Wire | Description |
|---|---|
| not connected | |
| read | ACC (power) |
| gray | REV GEAR LAMP (activates rear view camera input) |
| blue | FMTX antenna (???) |
| orange | I-Drive (???) |
| black | GND (ground) |
MODE
This port is used to connect mode switch cable with switch button.
AV source switching order: OEM - RGB - AV1 - AV2 - AV3.
IR
This port is used to connect infrared receiver for the remote control. For the 4-pin connecter only 3 pins are used.
Remote Control
Remote control is powered by CR2025 battery.
V1
This port is used to connect first video input (CVBS1).
V2
This port is used to connect second video input (CVBS1).
R/V
This port is used to connect rear view camera.
V-OUT
This port outputs currently selected video input. Can be used to send currently displayed video to headrest monitor.
NAVI (IN)
This port is used to connect navigation input (analog RGB).
| Wire | Description |
|---|---|
| not connected | |
| not connected | |
| black | GND |
| white | SYNC |
| blue | B DATA |
| green | G DATA |
| red | R DATA |
OEM (IN)
This port is used to connect original video input (analog RGB).
| Wire | Description |
|---|---|
| black | GND |
| white | SYNC |
| blue | B DATA |
| green | G DATA |
| red | R DATA |
RGB (OUT)
This port connects to the RGB interface installed in W220 COMAND. The package comes with additional universal RGB connector (not needed for multimedia interface use with COMAND).
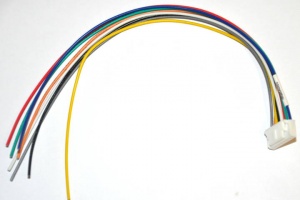
| Wire | Description |
|---|---|
| blue | B DATA |
| green | G DATA |
| red | R DATA |
| while | SYNC |
| black | GND |
| yellow | ACC |
| orange | VIDEO S/W |
| not connected |
DIP S/W
DIP switch allows to skip some inputs which are not connected.
| PIN | Name | Description |
|---|---|---|
| 1 | RGB INPUT SKIP | ON: Skipping RGB mode |
| 2 | CVBS1 MUTE | ON: Skipping CVBS1 input |
| 3 | CVBS2 MUTE | ON: Skipping CVBS2 input |
| 4 | CAN | ON: When installing to the Cayenne |
| 5 | OEM MUTE | ON: Skipping OEM input |
| 6 | INTERLACE | ON: Non-interlace |
| 7 | REAR MODE | ON: External rear camera installed |
| 8 | SYNC ON GREEN | ON: Sync on green (RGSB) |
If the displayed screen vibrates, try to operate DIP switch number 6 (interlace mode) after turning power off.
SEL (OUT)
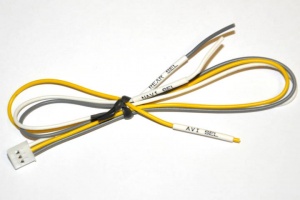
This 3-PIN port gives voltage on one PIN at a time, depending on the video source that is currently selected - REAR-SEL (white), AV1-SEL (yellow), NAVI-SEL (gray). For example, 12V output is on yellow wire when AV1 input source is chosen. Can be used to activate appropriate audio output.
LED
First LED lamp indicates that interface is on.
Second LED lamp indicates that AV sources connected work well.
Interface Connections
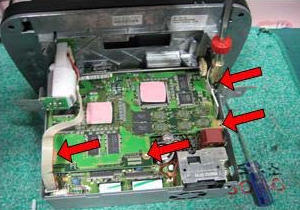
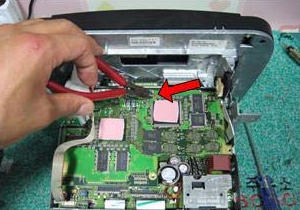
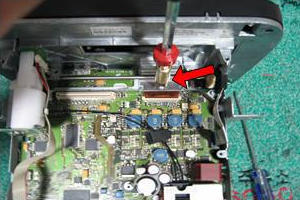
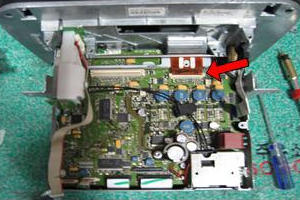
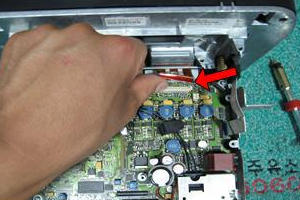
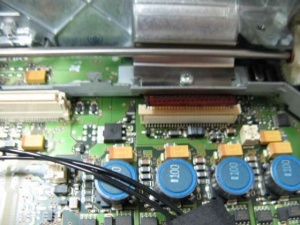
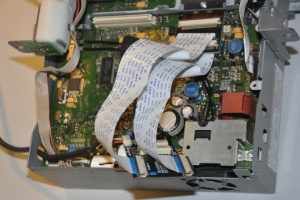
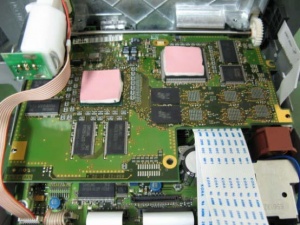
Installation
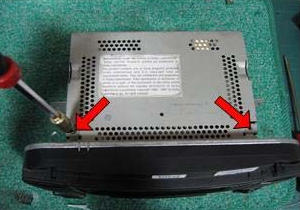
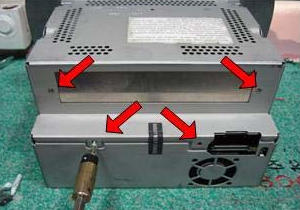
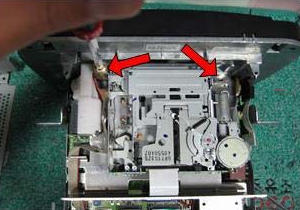
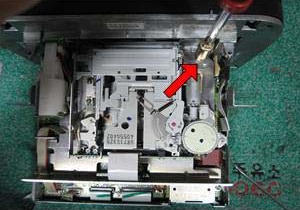
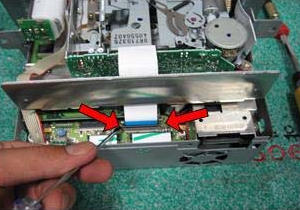
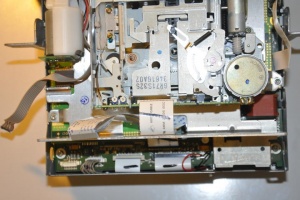
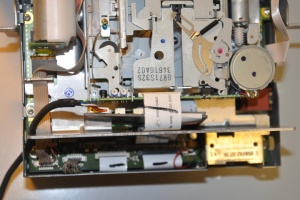
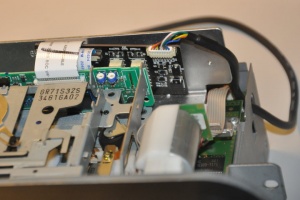
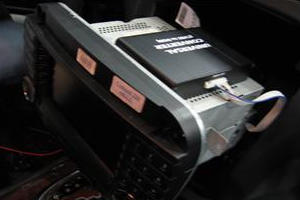
Remove the COMAND from the vehicle using COMAND removal instructions.
 |
 |
 |
 |
 |
 |
 |
 |
 |
 |
 |
 |
 |
 |
 |
 |
 |

