Removing and installing front floor covering (left): Difference between revisions
Jump to navigation
Jump to search
(→Removing and installing front floor covering (left): photos added) |
|||
| Line 22: | Line 22: | ||
# Lift floor covering (7) at rear, remove at center console and then remove towards rear. Installation: Insert floor covering (8) in area of center console (arrows). | # Lift floor covering (7) at rear, remove at center console and then remove towards rear. Installation: Insert floor covering (8) in area of center console (arrows). | ||
# Install in opposite order | # Install in opposite order | ||
{| | |||
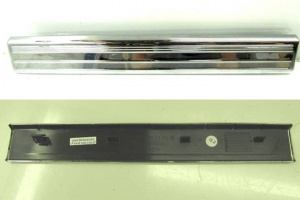
|[[File:W220_door_still_molding_front_left.jpg|thumb|none|Door still molding.]] | |||
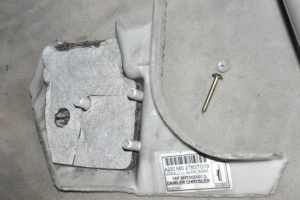
|[[File:W220_A2206802780_front_left_lateral_panel_cover.jpg|thumb|none|Side panel.]] | |||
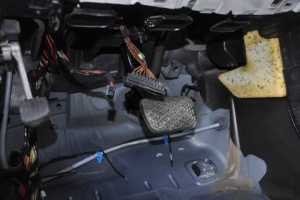
|[[File:W220_left_footwell_floor_covering_removed.jpg|thumb|none|Floor covering removed.]] | |||
|} | |||
Revision as of 21:59, 22 April 2017
Removing and installing front floor covering (left)

|
|
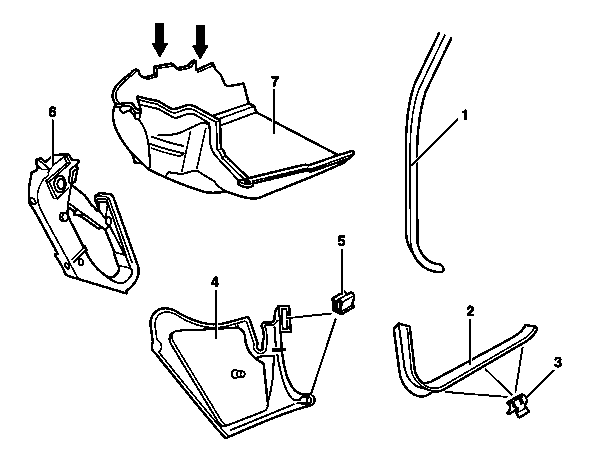
- Remove front seat (W220) / Move front seat back as far as possible (W215)
- Remove cover below instrument panel (left)
- Pull off door sill molding (2). Door sill molding fastened with 3 clips.
- Pull off edge guard (1) in lower area on A-pillar
- Remove panel (4). Fastened with 2 clips in addition.
- Remove accelerator pedal (6)
- Lift floor covering (7) at rear, remove at center console and then remove towards rear. Installation: Insert floor covering (8) in area of center console (arrows).
- Install in opposite order
 |
 |
 |