Exhaust system: Difference between revisions
(→Flanges: HJS 82007060) |
(→Replacing rusted flanges with split flanges: added photo) |
||
| (4 intermediate revisions by the same user not shown) | |||
| Line 131: | Line 131: | ||
=== Replacing rusted flanges with split flanges === | === Replacing rusted flanges with split flanges === | ||
The OE cast iron flanges corrode and eventually split causing exhaust leaks. These are constructed of cast iron (despite being fitted to a stainless steel exhaust) and inevitably deteriorate and split. These parts are integral to the exhaust and are not available separately. The only option until now has been to buy a new exhaust at vast expense. Or to buy new flanges, cut them up, fit and re-weld them - a tricky job. None of these are an ideal solution to this common fault. | |||
{| | {| | ||
|[[File:W220_rusted_exhaust_flanges.jpg|thumb|none| | |[[File:W220_rusted_exhaust_flanges.jpg|thumb|none|Flanges on front connections completely rusted]] | ||
|[[File:W220_rusted_exhaust_flange.jpg|thumb|none| | |[[File:W220_rusted_exhaust_flange.jpg|thumb|none|Flanges on rear connection completely rusted]] | ||
|[[File:W220_removal_of_rusted_exhaust_flanges.jpg|thumb|none|Removal of rusted flanges]] | |[[File:W220_removal_of_rusted_exhaust_flanges.jpg|thumb|none|Removal of rusted flanges]] | ||
|} | |} | ||
On [[M112]] and [[M113]] exhausts there are 3 factory mounted | On [[M112]] and [[M113]] exhausts there are 3 factory mounted flange connections: two in the front (middle of the car) and one in the rear. | ||
Once they get rusted, the only option is to cut them off and install split flanges instead. | Once they get rusted, the only option is to cut them off and install split flanges instead. | ||
Required parts: | |||
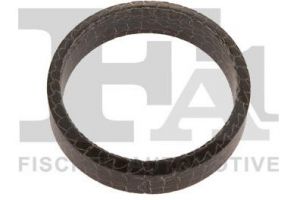
* Sealing ring (A2024920281) x2 | |||
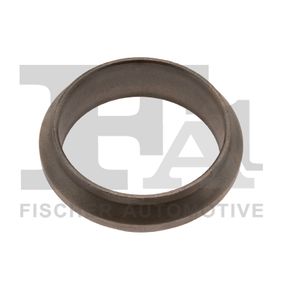
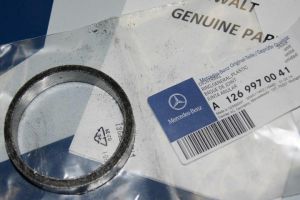
* Graphite sealing ring (A1269970041) | |||
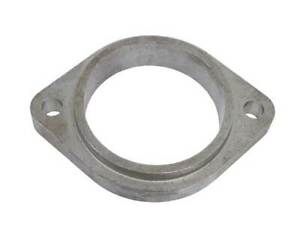
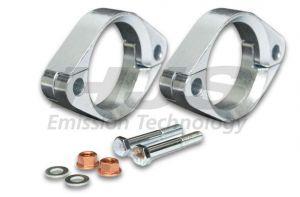
* Split flange for pipe diameter of 60mm (HJS 82007060) x2 | |||
* Split flange for pipe diamater of 55mm (HJS 82007055) | |||
The diameter of [[M112]] and [[M113]] exhaust pipes is 55mm except for the rear pipe of the right front flange connection, which has 60mm diamater (55mm pipe slips into the 60mm pipe). | |||
Even though most of the pipes are 55mm, since the diameter of 55mm pipes increases closer to the connection, it might be required to install 60mm split flange instead (at least on one side of the connection) or use longer bolts (not included in split flange set). | |||
{| | |||
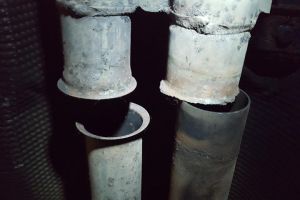
|[[File:W220_exhaust_flanges_front_connections.jpg|thumb|none|Front flange connections]] | |||
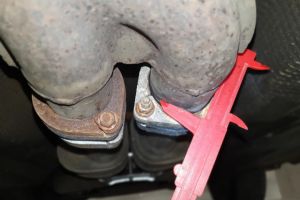
|[[File:W220_right_rear_exhaust_pipe_60mm.jpg|thumb|none|60mm pipe measured on the rear right connection]] | |||
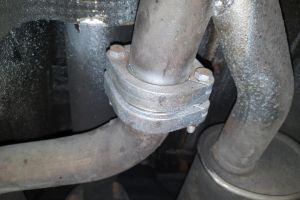
|[[File:W220_split_flanges_rear_connection.jpg|thumb|none|Split flanges installed on the rear connection]] | |||
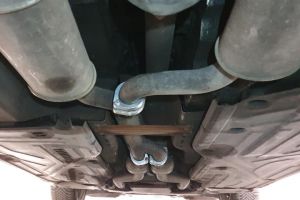
|[[File:W220_exhaust_split_flanges_installed_M113.jpg|thumb|none|Split flanges installed (on M113)]] | |||
|} | |||
The principle of applying split flanges on the front flange W220 exhaust connections is very similar as on BMW E46 exhaust: | |||
{| | |||
|{{#ev:youtube|https://www.youtube.com/watch?v=VCbIcLqeofI|320|center|BMW E46 M3 Flanges Repair Kit|frame}} | |||
|} | |||
== Exhaust transmission mount == | == Exhaust transmission mount == | ||
| Line 248: | Line 273: | ||
== Bracket == | == Bracket == | ||
{| | |||
[[File:W220_front_exhaust_bracket.jpg|thumb|none|Front exhaust bracket]] | |[[File:W220_front_exhaust_bracket.jpg|thumb|none|Front exhaust bracket]] | ||
|[[File:W220_new_exhaust_bracket_A2204921641_installed.jpg|thumb|none|Front exhaust bracket installed]] | |||
|} | |||
{| class="wikitable" | {| class="wikitable" | ||
Latest revision as of 08:45, 26 August 2023
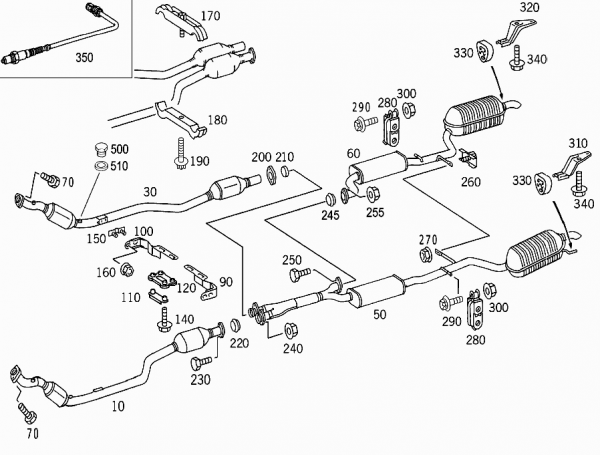
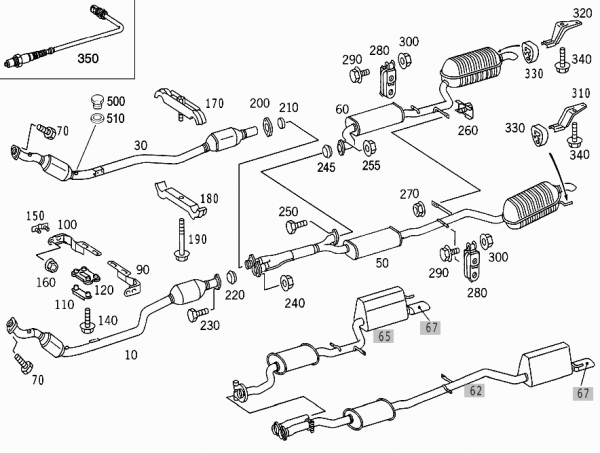
Exhaust system
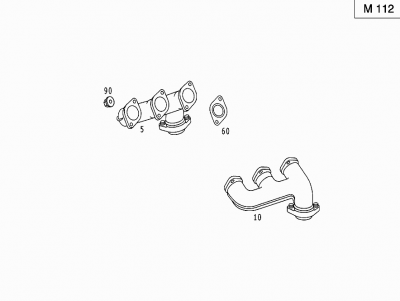
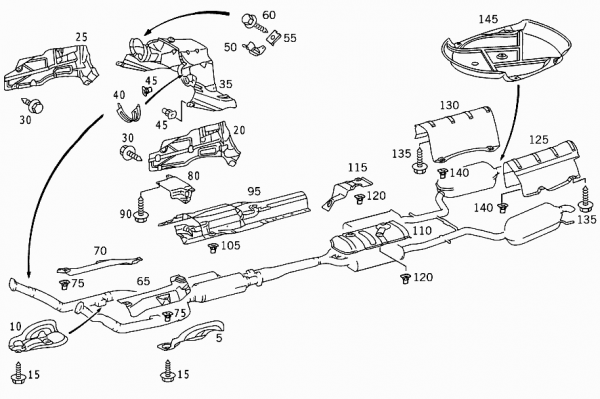
Exhaust system for 6-cylinder (M112) gasoline vehicles:
|
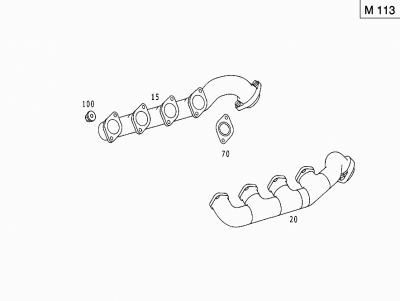
Exhaust system for 8-cylinder (M113) gasoline vehicles:
|
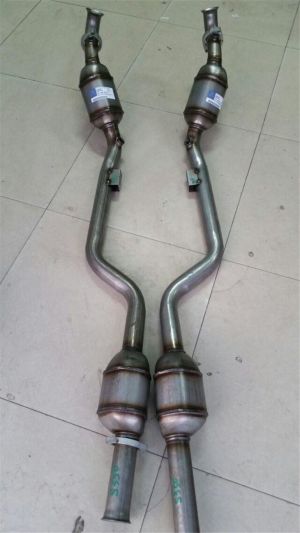
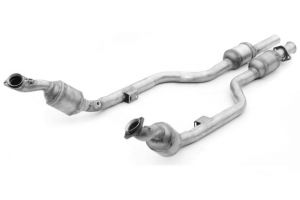
Catalytic converters, exhaust pipes
OEM catalytic converters cost around $1,200 but cheap aftermarket cats are available for under $300 installed.
 |
 |
| Part | Part no. | Image | Description |
|---|---|---|---|
| 10 | A2204908519 | Catalytic converter. Front left (M112) | |
| 30 | A2204908619 | Catalytic converter. Front right (M112) | |
| 10 | A2204907519 | 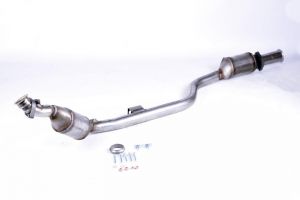
|
Catalytic converter. Front left (M113 facelift) |
| 30 | A2204907619 | 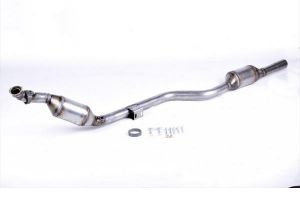
|
Catalytic converter. Front right (M113 facelift) |
| 10 | A2204904119
BM BM90841H KLARIUS 323015 |
Catalytic converter. Front left (M113 pre-facelift) | |
| 30 | A2204904219
BM BM90840H KLARIUS 323014 |
Catalytic converter. Front right (M113 pre-facelift) | |
| 50 | A2204900121 | 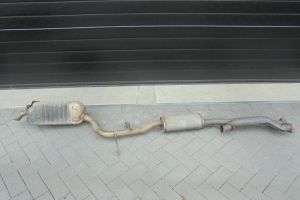
|
Exhaust pipe. Rear left (M112) |
| 60 | A2204900221 | 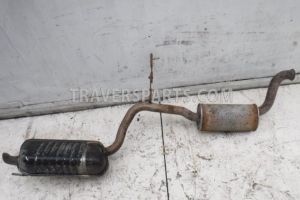
|
Exhaust pipe. Rear right (M112) |
| 50 | A2204901021 | 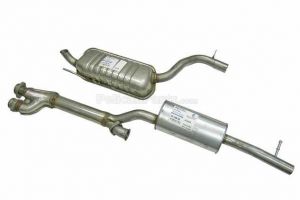
|
Exhaust pipe. Rear left (M113) |
| 60 | A2204900821 | 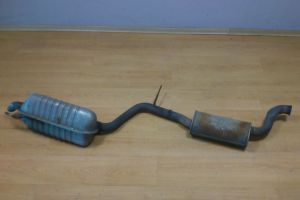
|
Exhaust pipe. Rear right (M113) |
Flanges
Replacing rusted flanges with split flanges
The OE cast iron flanges corrode and eventually split causing exhaust leaks. These are constructed of cast iron (despite being fitted to a stainless steel exhaust) and inevitably deteriorate and split. These parts are integral to the exhaust and are not available separately. The only option until now has been to buy a new exhaust at vast expense. Or to buy new flanges, cut them up, fit and re-weld them - a tricky job. None of these are an ideal solution to this common fault.
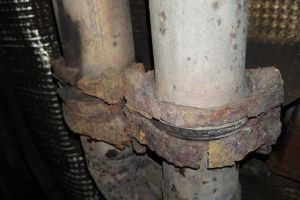 |
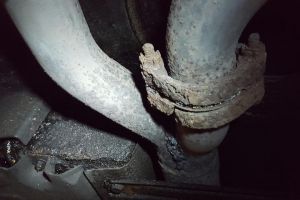 |
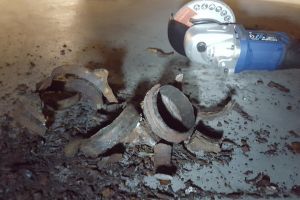 |
On M112 and M113 exhausts there are 3 factory mounted flange connections: two in the front (middle of the car) and one in the rear. Once they get rusted, the only option is to cut them off and install split flanges instead.
Required parts:
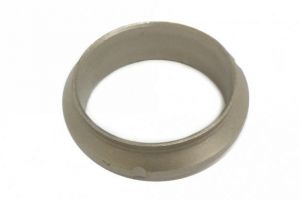
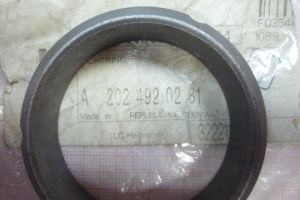
- Sealing ring (A2024920281) x2
- Graphite sealing ring (A1269970041)
- Split flange for pipe diameter of 60mm (HJS 82007060) x2
- Split flange for pipe diamater of 55mm (HJS 82007055)
The diameter of M112 and M113 exhaust pipes is 55mm except for the rear pipe of the right front flange connection, which has 60mm diamater (55mm pipe slips into the 60mm pipe).
Even though most of the pipes are 55mm, since the diameter of 55mm pipes increases closer to the connection, it might be required to install 60mm split flange instead (at least on one side of the connection) or use longer bolts (not included in split flange set).
 |
 |
 |
 |
The principle of applying split flanges on the front flange W220 exhaust connections is very similar as on BMW E46 exhaust:
Exhaust transmission mount
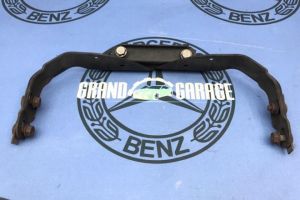
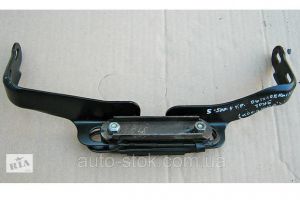
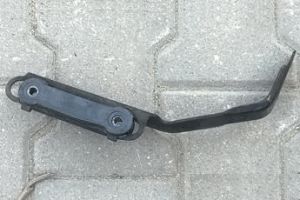
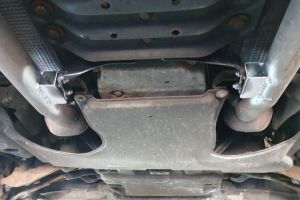
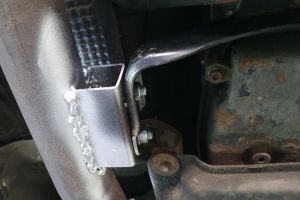
The arms of the exhaust transmission mount are of a different shape for 5-speed vs 7-speed transmission vehicles. Diesel engine on S320 has only one (right) arm.
 |
 |
 |
| Part | Part no. | Image | Description |
|---|---|---|---|
| 90 | A2204922241 (17 EUR) | 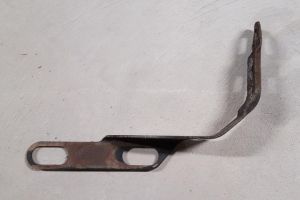
|
Bracket. Catalyst to transmission left (Code: 427 - AUTOMATIC TRANSMISSION 7-SPEED) |
| 100 | A2204922341 (30 EUR) | 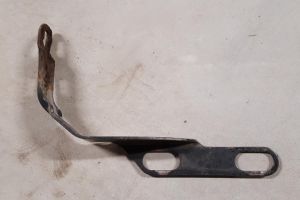
|
Bracket. Catalyst to transmission right (Code: 427 - AUTOMATIC TRANSMISSION 7-SPEED) |
| 90 | A2204920141 (58 EUR) | 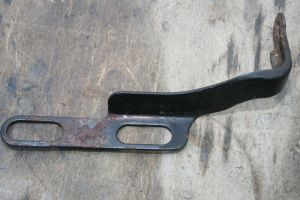
|
Bracket. Catalyst to transmission left |
| 100 | A2204920241 (30 EUR) | 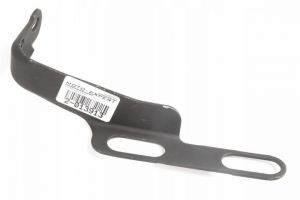
|
Bracket. Catalyst to transmission right |
| 100 | A2204921141 | 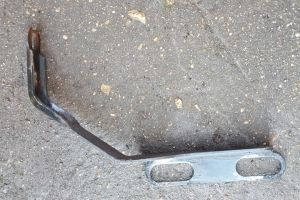
|
Bracket. Catalyst to transmission right (OM613/S320) |
| 110 | A1404920018 (6 EUR) | 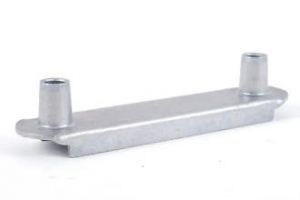
|
Base plate. Bracket to transmission |
| 120 | A1404920118 (6 EUR) | 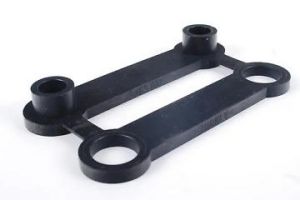
|
Base plate. Bracket to transmission |
| 140 | N910105008014 (2 EUR) | 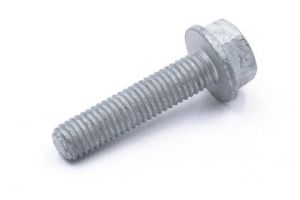
|
Hexagon head bolt. Bracket to transmission M8x35. x2 |
| 150 | A1294900044 (7 EUR) | 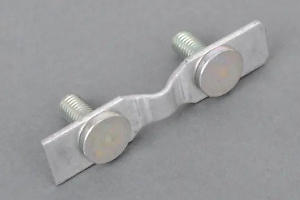
|
Plate. Exhaust pipe suspension to transmission |
| 160 | A1409900750 (2 EUR) | 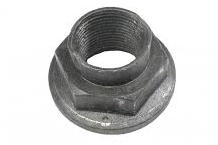
|
Collar nut f shaft. Exhaust pipe suspension to transmission M8. x4 |
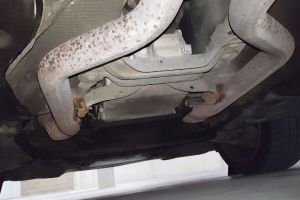
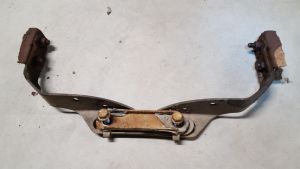
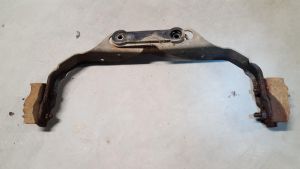
Rusted off transmission mounts
 |
 |
 |
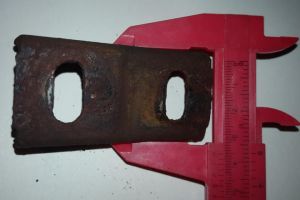
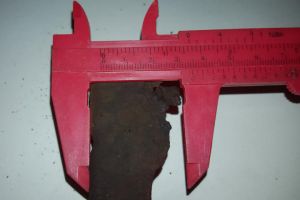
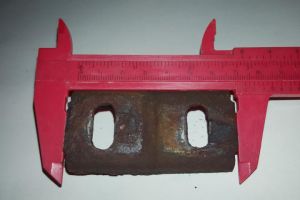
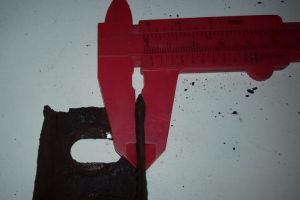
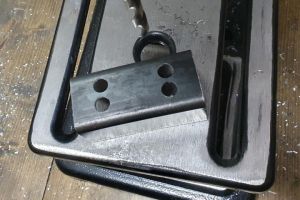
Dimensions of the original U-profile
 |
 |
 |
 |
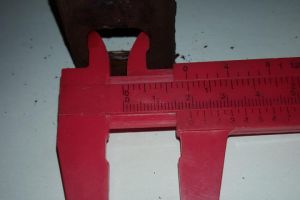 |
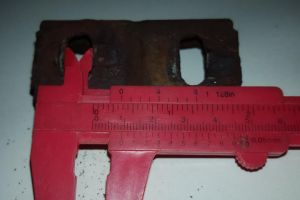 |
- Distance between hole centres: 4cm
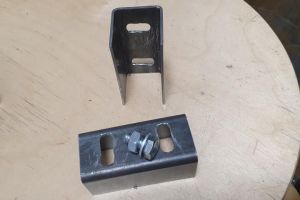
Making aftermarket U-profiles
Materials needed:
- U-profile made of steel S235, dimensions: 35x35x2mm (two pieces cut in length of 7.5cm).
- Bolt M8x16, nut M8, washer M8 wide (four pieces)
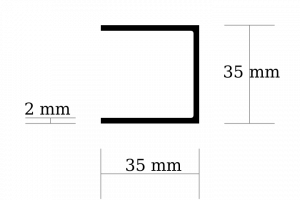 |
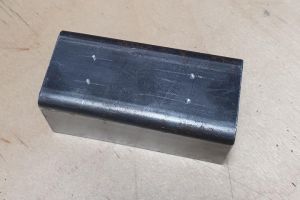 |
 |
 |
 |
 |
Bracket
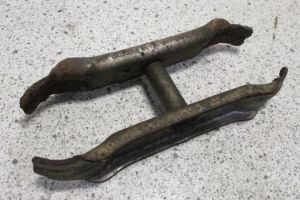 |
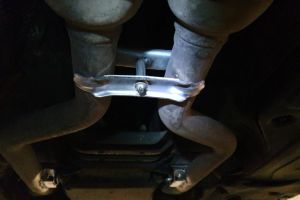 |
| Part | Part no. | Image | Description |
|---|---|---|---|
| 170 | A2204921641 (8 EUR) | 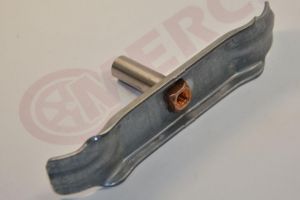
|
Bracket. Top front |
| 180 | A2204921741 (14 EUR) | 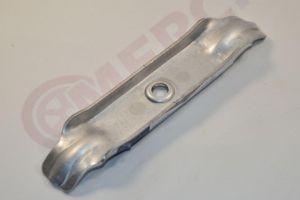
|
Bracket. Bottom front |
| 190 | N910143008019 (3 EUR) | 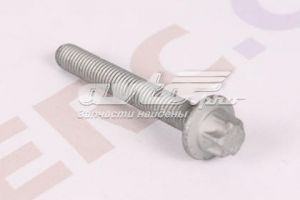
|
Hexalobular bolt. At bracket M8x60 |
Exhaust manifold
Exhaust manifold for 6-cylinder (M112) vehicles:
|
Exhaust manifold for 8-cylinder (M113) vehicles:
|
Screening plates
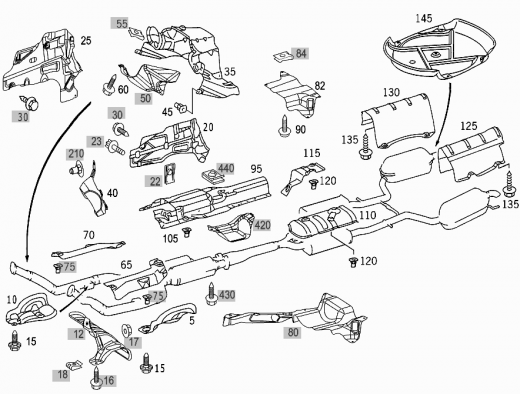
Exhaust system screening plates for 6-cylinder (M112) vehicles:
|
Exhaust system screening plates for 8-cylinder (M113) vehicles:
|
Issues
- Occasionally the exhaust system will develop an annoying but quiet rattle. This may be a simple loose bracket, heat shield or clamp.
- Occasionally the exhaust system will develop an intermittent but very loud rattle. W220's are known to have an issue with the catalytic converters which come apart internally and make a loud rattling sound at particular engine speeds (around 2,500 RPM) and sometimes only when the cat is hot. You may not notice the noise when driving until the failure gets worse and the vibration gets very loud as it is masked by the usual road and car sounds. It is often first noticed when driving around a multi-level parking station where the sound bounces off the close solid walls. M-B issued an eight year / 80,000 mile (125,000 Km) warranty to cover the failed catalytic converters.
- Some owners have found that it is mostly the rear cats that fail, although be warned, it may be broken pieces in the front catalytic converter being deposited in a rear cat.
- The video below provides a good example of a noisy catalytic converter at idle speed:
- A catalytic converter can block sufficiently to reduce exhaust flow which may prevent the engine from developing full power. This issue will usually trip an engine fault code.
- Catalytic converters must not be disposed of as regular scrap. The catalytic converter contains valuable rare earth metals, which can be recycled.
- Beware that often the rear cat will rattle because it is full of substrate that has broken down in the front cat and simply ended up in the rear cat.
- If replacing the catalytic converters with after market ones, go with a metal substrate catalytic converter since it will flow much better than a ceramic one.
- When reassembling a new or repaired exhaust system apply high temperature anti-seize copper grease to all the gaskets, seal rings, flange surfaces, and bolt threads. You will really appreciate having done this next time the system has to come apart.
- Also cover all exposed bolt threads with silicon to prevent corrosion. The silicon is easily peeled off before undoing the next time. If you have previously used the copper anti-seize grease you will be able to undo the nut by hand.
DIY Procedures
Diagnose Blocked Catalytic converter
A good way to make sure a catalytic converter is not blocking is to perform a temperature test.
- Drive the car for say 20 Km to let the exhaust fully warm up.
- Put the car up on ramps or a hoist.
- Start the car and let it idle.
- Use a temperature probe or preferably an IR non-contact temperature sensor with laser pointer and measure the temperature of the exhaust pipe immediately before and after each catalytic converter.
- If the before and after temperatures are nearly the same the cat. it is not blocking.
- If the before and after temperature difference is large the cat. has an internal problem and is blocking.
Diagnose Source of Rattle Noise
- To investigate an annoying rattle jack the vehicle up and place on stands. (TIP: You may find that When you put the car up on front jack stands only, it will not rattle. One Benz-World enthusiast Had to level out the back of the car to get the rattle going.)
- Tap the complete exhaust system with a rubber mallet while listening for the rattle. If you are lucky it is often a broken strap or bracket making the noise. If you are unlucky you may have the dreaded internal issue common with the catalytic converters.
- If the rattle only appears at certain speeds, it is a loose baffle or interior part that is vibrating at its resonant frequency. To find this issue try tapping the rubber mallet at very quick intervals to get the vibration started.
- A mechanics stethoscope or even an ear listening against a long screwdriver handle can help find a quiet rattle.
Temporary Fix for Rattling Cat.
TIP: Be warned that any warranty will be void if there are dents found on the cats from someone trying to hold in the honeycomb substrate. Not a problem if you exceed the warranty period, but a caution for others with a newer vintage / class of car.
One enthusiast discovered a slight rattle coming from a rear cat. He took a hammer and put a little dent in the bottom of the cat to keep the internals from moving around and making noise.
He was lucky and the honeycomb material was still intact but had just come loose.
He reported after one year that the cats were still rattle free.
Some DIYers have hammered dents in three sides to secure the internals.
Permanent Fix for Rattling Cat. or Cat. Gutting
Be Warned: The material found inside a catalytic converter is toxic and appropriate handling precautions must be used.
Not recommended but a crude fix used by some DIYers for a rear rattling catalytic converter is to gut it. After the front and rear cat assembly is removed from the car, use a long piece of rod, pipe or crow bar to ram through the inside of the rear cat. Constantly shake out any broken pieces and progress slowly. It may take 30 minutes of probing and clearing out to remove most of the internals. Be careful not to distort the outer case or damage the pipes. Once the rear cat. is clear check the pipe between the front and the rear cats. as well.
An illustrated post at [1] by Benz-World member mercy-me shows how to gut a cat. by cutting it open and then sealing with a mechanically fastened metal plate.
