Windshield: Difference between revisions
(→Windshield: added price of M1864 windshield) |
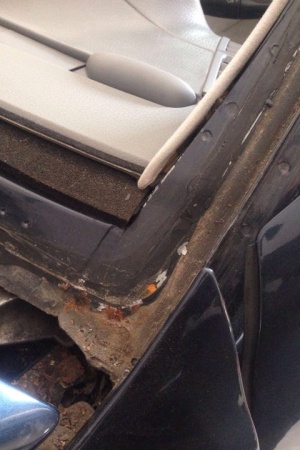
(→Installing Windshield: images of removed windshield) |
||
| Line 178: | Line 178: | ||
# Cut out windshield (1) with Roll Out 2004 window removal tool | # Cut out windshield (1) with Roll Out 2004 window removal tool | ||
# Remove windshield (1) from body with Cup suction tools | # Remove windshield (1) from body with Cup suction tools | ||
{| | |||
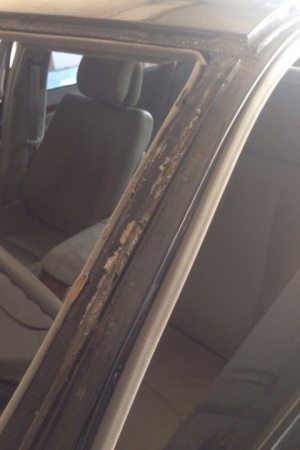
|[[File:W220_windshield_removed_bottom_left_side.jpg|thumb|none|Windshield removed (bottom/side).]] | |||
|[[File:W220_windshield_removed_top_left_side.jpg|thumb|none|Windshield removed (top/side).]] | |||
|} | |||
=== Install === | === Install === | ||
Revision as of 21:13, 20 July 2016
Windshield
W220 vehicles have heated windshield with rain and daylight sensors. Optionally windshield can have infrared reflective coating. Facelift windshields have different rain and daylight sensor lens.
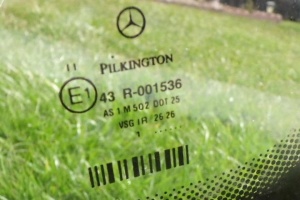
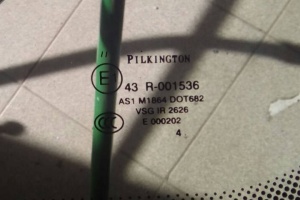
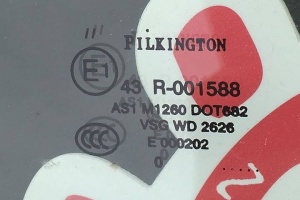
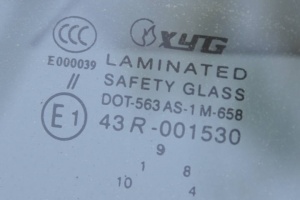
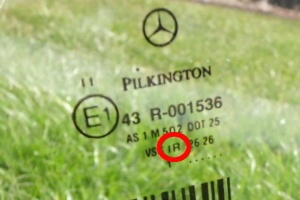
Aftermarket windshields for W220 are produced by XYG, Olimpia, Benson, FYG and Pilkington. Pilkington is MB OE producer, therefore it is possible to order windshield directly from Pilkington much cheaper than from MB dealer. The glass will be identical to original MB glass, exept that windshield will be missing the small MB logo on the windshield marking.
Windshield Heating
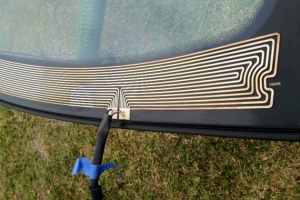
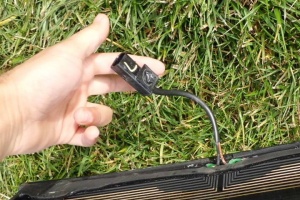
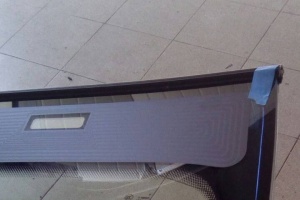
W220 windshield is equipped with heating element in the windshield area of non-activated windshield wipers. The heating element usually has cutout for the VIN number sticker, since in US it is a federal requirement that the VIN number be visible through the windshield.
 |
 |
 |
Infrared Reflecting Windshield
Vehicles with option code HEAT INSULATING+IR REFLECTG.SAFETY GLASS ALL-ROUND are equipped with infrared reflecting glass including windshield, which reduces the amount of radiated heat entering the interior through the windows.
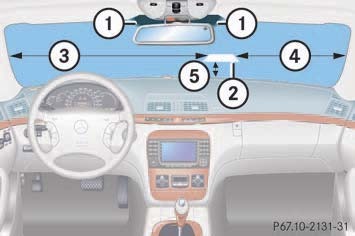
Infrared transparent areas
The infrared reflecting glass also prevents the transmission of signals through the glass by in-vehicle electronic devices (e.g. electronic toll collection devices). To allow the use of these devices in the vehicle, two infrared transparent areas (1) and (2) are placed in the windshield.
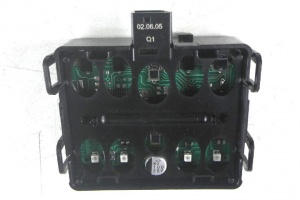
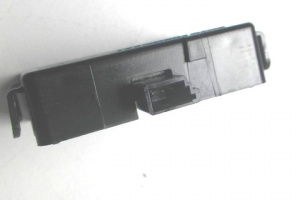
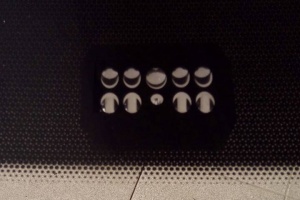
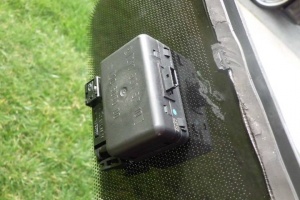
Rain Sensor
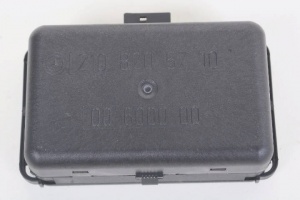
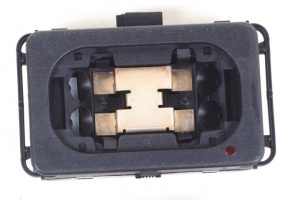
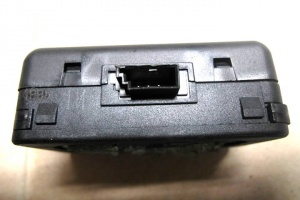
In facelift vehicles there is no separate daylight sensor, since daylight sensor is integrated in the rain sensor.
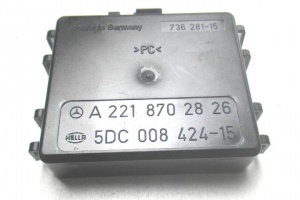
| Part No. | Notes |
|---|---|
| A2108205710 | To Date: 30/09/2002 |
| A2098200726 | From Date: 30/09/2002, Replaced by: A2098202426 |
| A2098202426 | From Date: 30/09/2002, Replaced by: A2098203126 |
| A2098203126 | From Date: 30/09/2002, Replaced by: A2218702826 |
| A2218702826 | From Date: 30/09/2002 |
 |
 |
 |
 |
 |
 |
 |
 |
|
|
Remove/Install
- Disconnect ground cable of battery
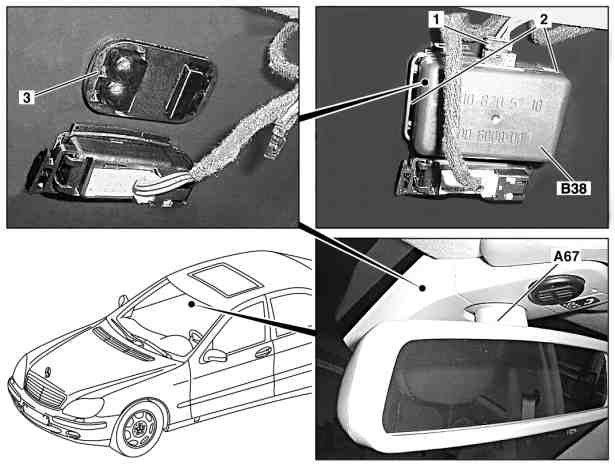
- Remove inside rearview mirror unit (A67) with cover
- Detach electrical connector (1) at rain sensor (B38)
- Release retaining clamps (2) on rain sensor (B38) to left and right
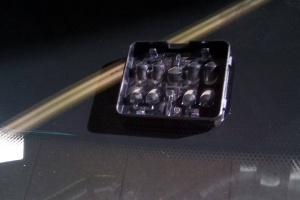
- Remove rain sensor (B38). The lens (3) of the rain sensor (B38) is bonded to the windshield and must not be removed, otherwise the lens (3) will be damaged.
- Install in the reverse order.
- Perform function check
- Read coding of the windshield adaptation for rain sensor and of adaptation of the light sensor booster factor using STAR DIAGNOSIS and replace if necessary, select windshield variant.
- Connect STAR DIAGNOSIS, read out fault memory
Daylight Sensor
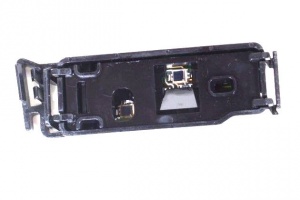
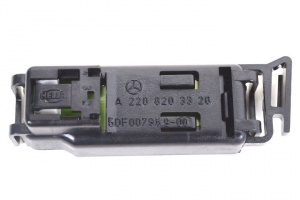
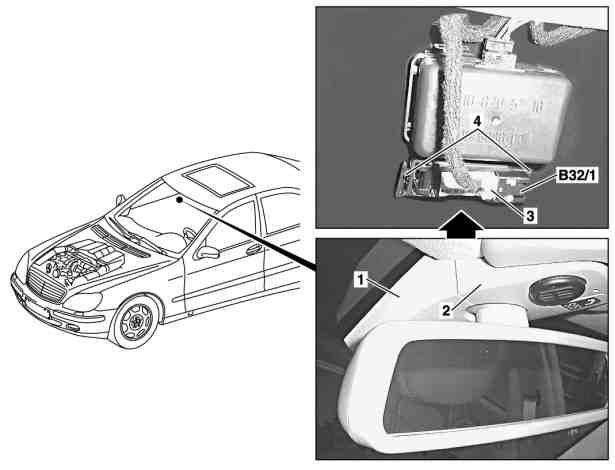
In facelift vehicles there is no separate daylight sensor, since daylight sensor is integrated in rain sensor. For pre-facelift vehicles daylight sensor has part no. A2208203326.
 |
 |
 |
|
|
Remove/Install
- Disconnect ground cable of battery
- Remove overhead control panel control unit
- Unclip covering (1) and (2)
- Release clips (4) on left and right
- Remove automatic light switch daylight sensor (B32/1). Lens of automatic light switch daylight sensor (B32/1) is bonded to the windshield. Do not replace.
- Unplug electrical connector (3) from automatic light switch daylight sensor (B32/1).
- Install in the reverse order.
- Perform function check.
Installing Windshield
|
|
Remove
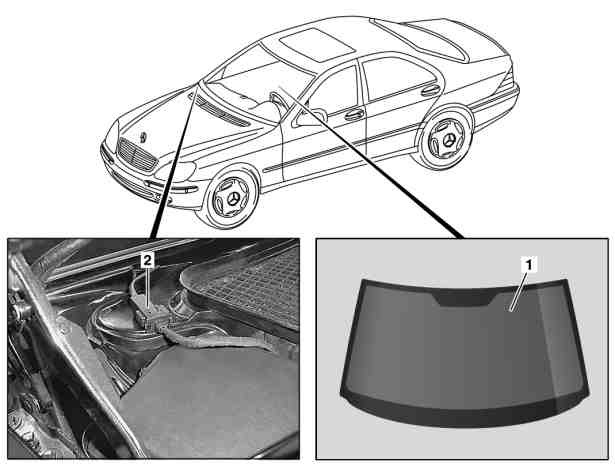
- Remove rain sensor (B38)
- Unclip automatic light switch daylight sensor (B32/1)
- Remove wiper arms. Always remove ignition key when working on windshield wiper mechanism.
- Remove water deflector over wiper system
- Disconnect electrical connector for heated window (2)
- Remove both panelings from outside of A-pillar
- Remove ornamental frame on windshield.
- Cut out windshield (1) with Roll Out 2004 window removal tool
- Remove windshield (1) from body with Cup suction tools
 |
 |
Install
- Prepare 1-component adhesive cartridge 000589866300
- Prepare body flange for installation of window
- Replace rubber spacers. Do not remove protective foil.
- Prepare windshield (1) for glazing.
- Align windshield (1) in the body opening. Observe gap - distance between top edge of window and front edge of roof. Dimension "A" mm 12.
- Remove protective foil from rubber spacers.
- Smooth sealing channel with hand roller.
- Apply adhesive material. Install windshield (1) within 10 minutes before adhesive force of adhesive material starts to decrease. Height of glue bead approx. 13 mm.
- Install windshield (1). Open a side window in the vehicle to prevent the windshield (1) from being pressed outward by air pressure when the door is closed.
- The waiting time (time before vehicle can be driven) is approx. 1 h calculated from the time the windshield (1) is installed.
- Install ornamental frame on wind deflector.
- Install paneling on outside of A-pillar.
- Install water repellent over wiper system.
- Install wiper arms.
- Disconnect electric connector (2) for heated window.
- Install rain sensor.
- Clip in automatic light switch daylight sensor.
- Clean windshield (1).
- Code adaptation of rain sensor and light sensor amplification factor and select type of windshield. Engine hood and driver door must be closed. Connect STAR DIAGNOSIS and read out fault memory.
